Little Details

Starting In
Got home from work with a big box of parts I picked up at lunch from the dealer. Lots of bits and bobs, the first wave of many as I go over the car and pick at this and that.
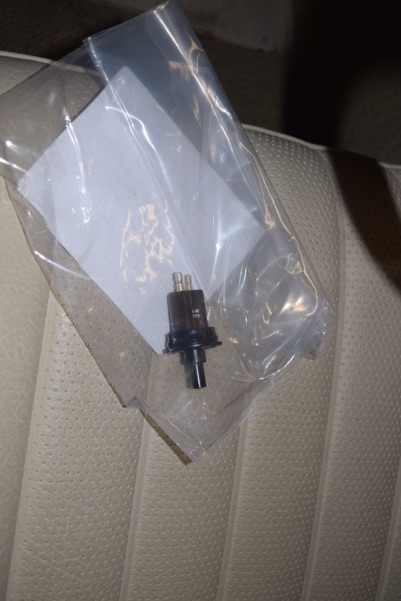
I started with the door switch on the driver’s door. The original switch was missing its plunger, rendering it useless. So it got popped out and a new one put in its place.
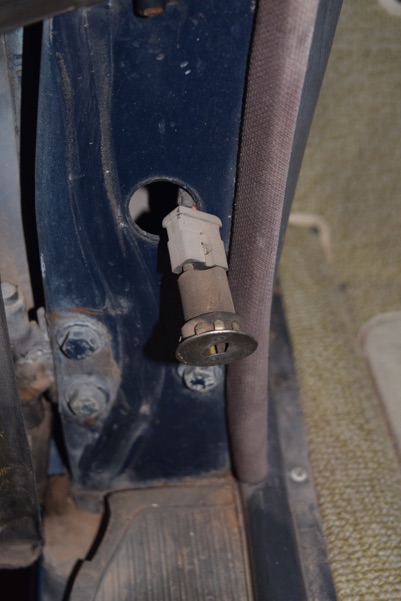
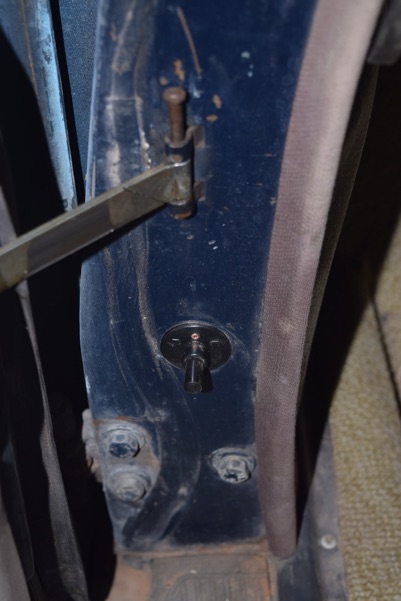
And yes, I tapped that retention pin in the check strap back into position.
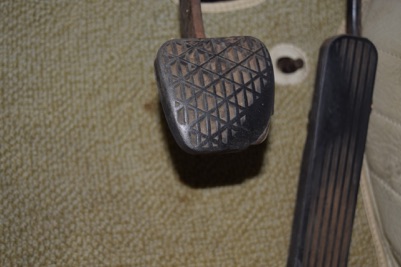
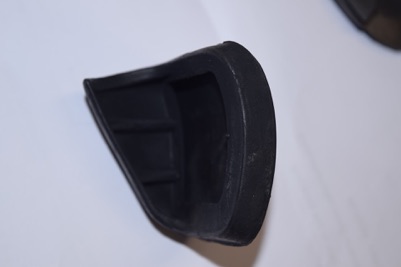
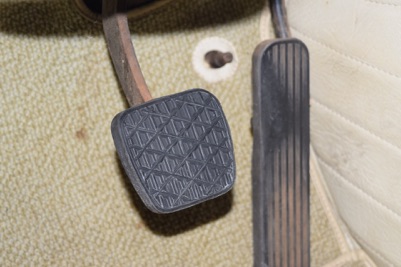
Next was the brake pedal pad. I was a little concerned, as the new one had a big “lug” molded into the back of it, sort of a bumper to prevent the pedal from going all the way to the floor. I thought that maybe this was for a clutch pedal, but I checked the EPC again and it’s used for both.
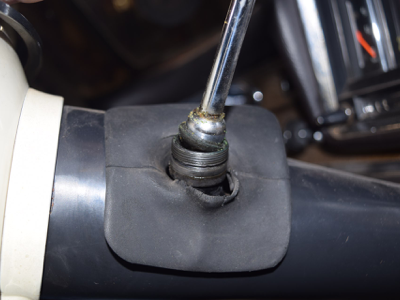
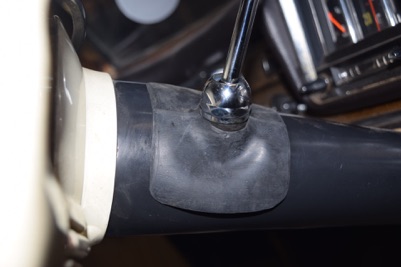
Next was the column shifter bushing and cover/boot. The column shifter was pretty sloppy, although some of that slop is on the other end of the linkage. I knew the bushing here was toast, as they often are.

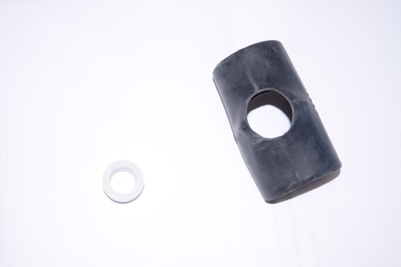
So the shifter gets removed, cleaned, the socket in the column tube and linkage cleaned out with a QTip to remove all the old petrified grease, and then a vacuuming to remove any loose crud I didn’t get or that got knocked loose from my probing.

Once it’s cleaned up, the new bushing goes in, the boot is put in place, some Sylglyde grease applied and it’s buttoned up. Nice! Shifts nice and tight up top, no wandering.
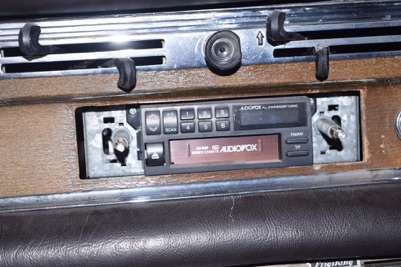
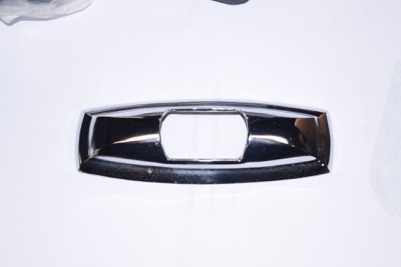
A side trip to pop the bezel off the aftermarket radio to see if they hogged out the dash for it. YEA!!! They didn’t!!!
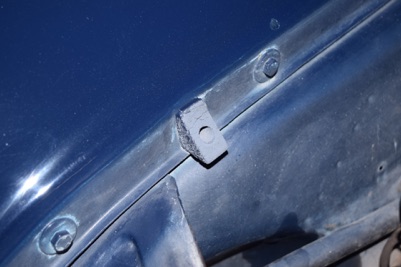
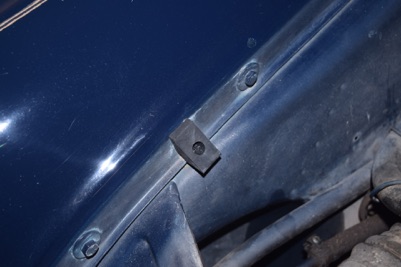
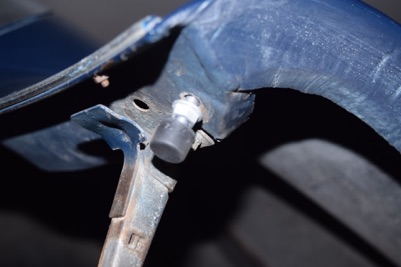
Move around to the engine compartment. Replace the hood height adjusters and wedges on the fender sides. Old (left) versus new (right).

I also cleaned the brake fluid reservoir cap and replaced the seal in it, and replaced the air cleaner element with a new Mann element. Sorry, forgot to get pictures of that...
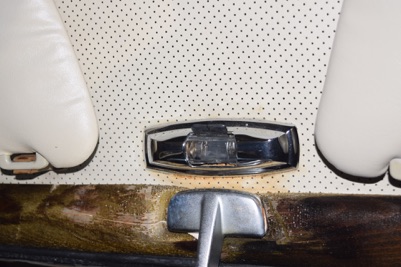
Back inside the cabin to remove, clean and relamp the courtesy light fixture. Popped off the cover, polished it and the clear plastic lens, installed a new tubular lamp and put it all back together, looking like new.
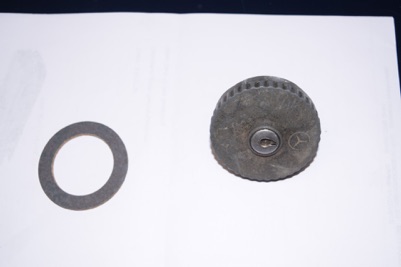
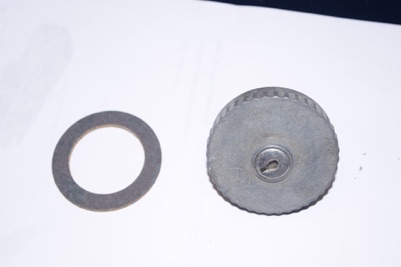
Lastly, I headed back to the trunk area. First I removed the locking gas cap which still locks, removed the rather aged seal (and I use that term loosely!) and cleaned off years of corrosion with a brass brush. I suspect I could get it looking a little nicer with a more aggressive approach, but for now I’m happy with it. Installed a new seal and put it back in place.
Finally, I installed new rubber bumpers on the body at the fuel door (the old ones were long gone as they usually are) and installed new rubber bumpers in the bottom of the trunk lid. The old ones were still in place but pretty much fossilized.
With that I called it a night. Not bad for a few hours of random stuff. I’ll do some more tomorrow, or possibly fire it up and drive to the gas station to fill up the tank if it’s not raining. If you want to see full size pictures of everything you can take a look here.
Thursday, December 20, 2018