Reverse Martha

Another Great Day!
I’ve decided that I’m doing a “reverse Martha” on this car. That is, rather than getting the cosmetic “Mercedes Martha Stewart” treatment done first, I’m doing the mechanical stuff first. Since there was such a lengthy list of things that really needed to be addressed to make the car a reliable driver I wanted to get them done first. So that’s my story....
Today was engine mounts, transmission mount and a rear trailing arm bushing. I had to go by the dealer to pick up the steering coupling bushings I VOR’ed and run some other errands so I didn’t get started until about 11:00 this morning.
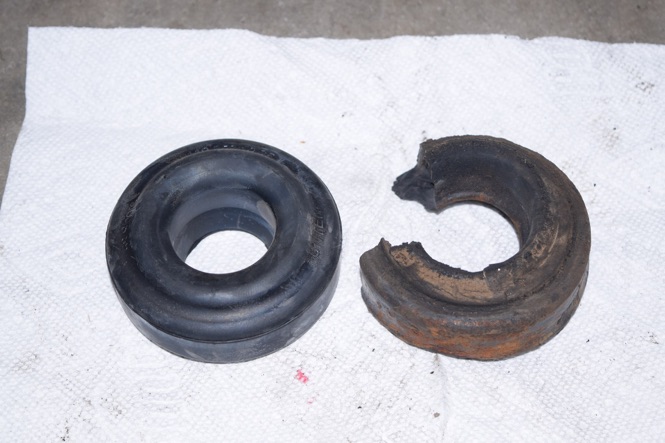
Both engine mounts had been soaked with Kroil, so fasteners came off easily. Driver’s side mount had been replaced with a later W123 mount, which, despite the difference in construction, is a bolt-up replacement. It was pretty well collapsed.
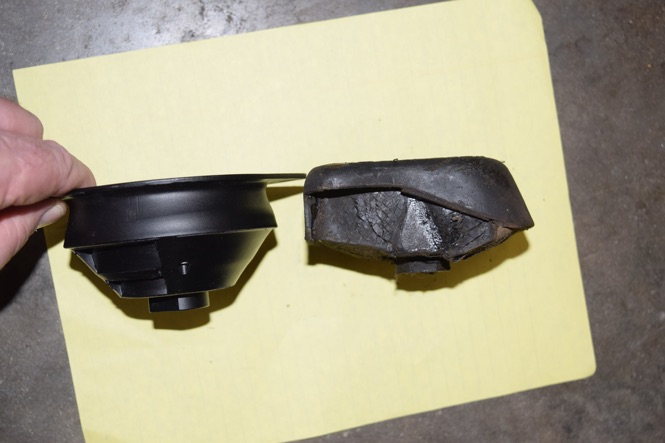
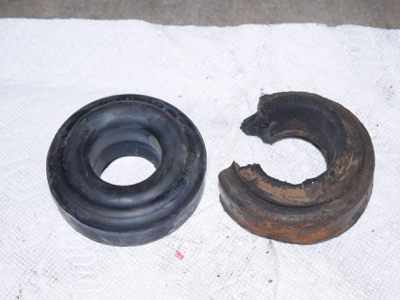
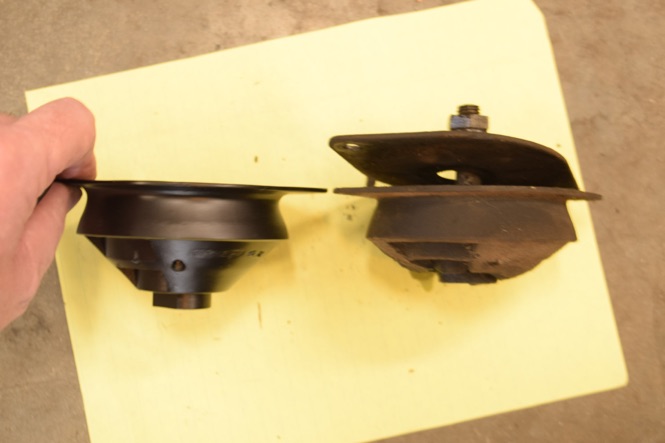
Right side mount was the proper and possibly the original mount. A bit more difficult to get at with the intake manifold, but with the help of some very long extensions and universal joints I was able to remove it. The right side mount has a torque bolt (my term) that projects through the mount and a steel plate secured under the mount to limit the engine’s “lift” when cranked. There is a rubber buffer that is replaced as a part of this, too. This one was also pretty well collapsed.
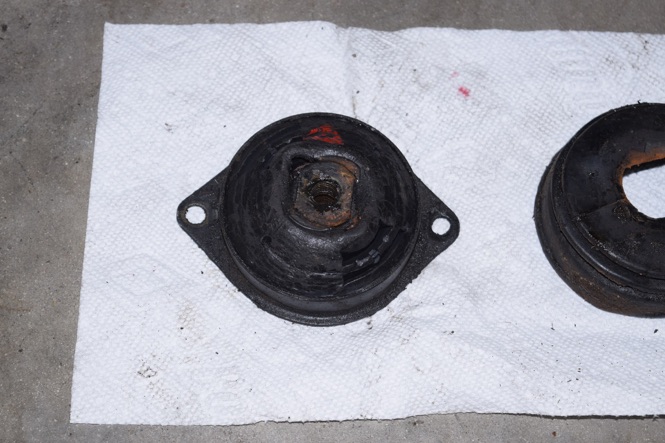
Next was the transmission mount, and it was not pleasant. After dropping the crossmember you must remove two bolts that secure the mount. The nuts are difficult at best to reach, and have to be held or they’ll spin when you turn the bolt head. The rear bolt wasn’t too bad, but the forward bolt was a real challenge. I ended up using a crow’s foot wrench on a short extension to hold it in place while I turned the bolt head with a ratchet from below.
The transmission mount has a long bolt that threads through it and through the mounting plate. It has to be turned out of the mount to remove the mount. I had to give this one a good Kroil bath and take a break while it worked it’s magic, but once done the bolt came out without a great deal of effort.
The mount was pretty well collapsed like the others (surprise!) so I’m sure it will make a difference. That’s a a protective boot that goes over the mount on the right. It got a new one of these as well.
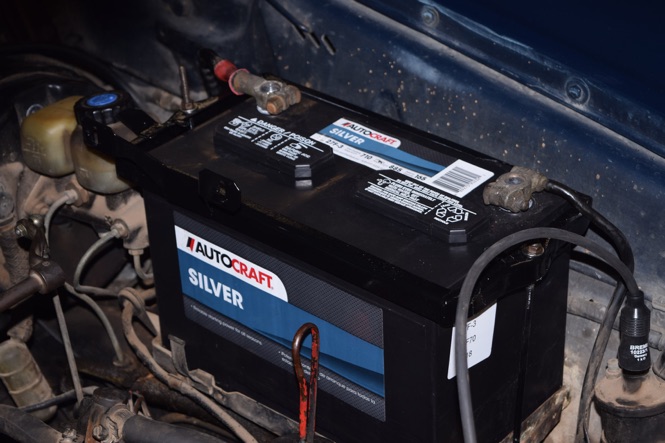
Now I was on a roll. So I move to the back of the car and soak the rear trailing arm mount bolts with some Kroil. While those are soaking I de-rust and prime the battery hold down and bolts.
Go back to the trailing arm and pry the old bushing out. Took some doing but it came out in a couple of pieces. Since the trailing arm is under pressure from the rear spring, I didn’t want it just sitting there, so I removed the fasteners and lowered it down with my floor jack. A little exciting working with loaded springs.
Lubed up the new bushing with some dish soap and put it in the recess on the trailing arm. Then I realized I couldn’t operate the jack *and* guide the trailing arm back into position. Fortunately, one of my boys had just come home so I enlisted his assistance with operating the jack. That made the process far easier. So now the trailing arm and its’ bracket are back in position while I run the fasteners down to keep it in place.
In between all of this I had time to shoot the color coat on the battery hold down and bolts, so that got done and installed after they dried.
So that’s that. Took the car out for a quick spin around the neighborhood when I shuffled cars back into their proper locations and was very, very happy. Yesterday’s tuneup and valve adjustment made the engine so, so much quieter, and the engine mounts and transmission mount really made a big difference in eliminating nearly every bit of drive train vibration.
Looking forward to getting the steering coupling and the right side trailing arm bushing done tomorrow. Then this ride should be really solid.
Thursday, December 27, 2018