So on Saturday I figured I would take care of some cosmetic items along with wrapping up other things I did during the week.
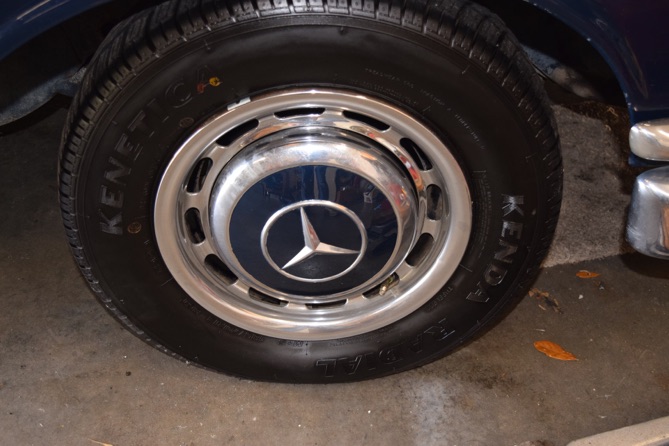
During the week I had masked and painted my hubcaps. I wasn’t really pleased with the results, as I ended up with some fisheyes around the edges of the paint lines. As I went back over the process, which I have done a number of times before, I realized that I had used a new blade in the razor knife used to trim the masking tape. The blade had oil on it. Grr. Lesson learned. While the results aren’t terribly noticeable, I’ll definitely rework a couple of them in the future.
I still need to polish the chrome portions some more to get some water marks out of them. Otherwise, they look far better than they did previously.
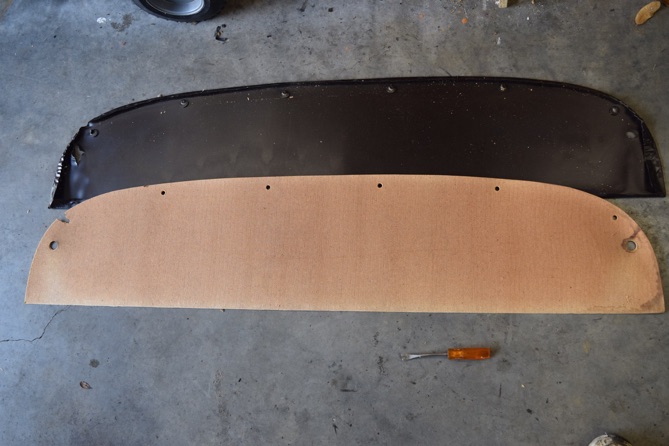
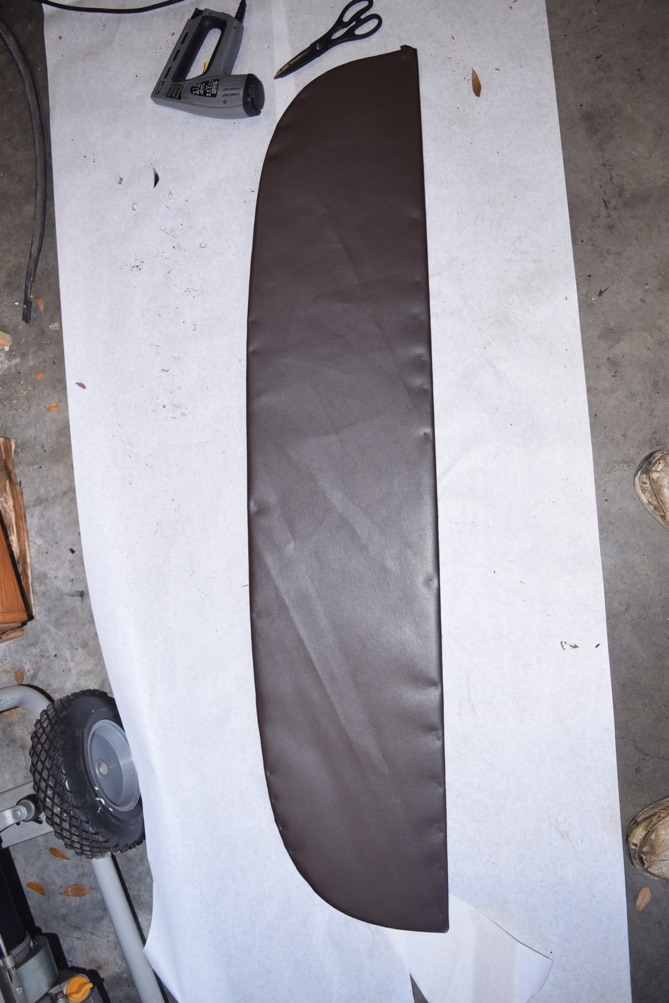
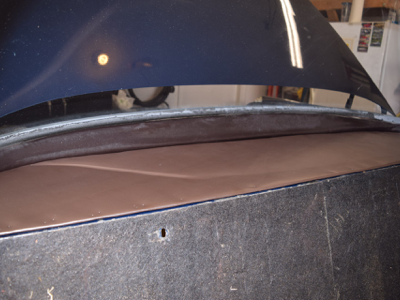
Next, it was time to replace the material covering the parcel shelf. I found some upholstery material that was close to the original dark brown at JoAnn Fabrics. Here is the old material having been removed from the masonite material that forms the parcel shelf.
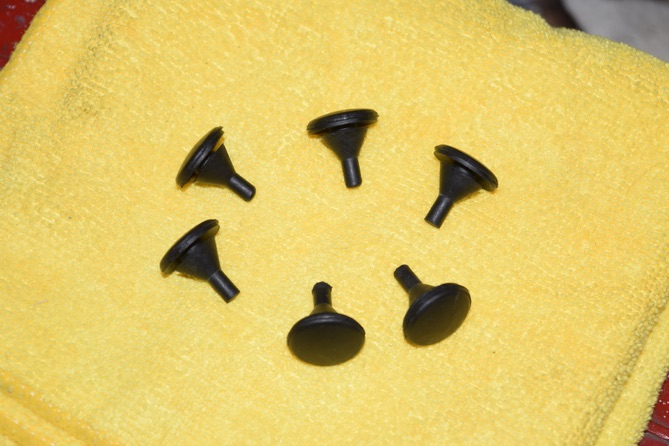
Note the holes in the curved edge of the panel. There are rubber buffers that go into these holes that project through the metal part of the parcel shelf to hold it in place. The old ones were understandably mummified, so I got a set of new ones. With the parcel shelf in place, you go into the trunk and pull these through the holes in the metal panel under the parcel shelf to hold it into position.
The piece of masonite was so old and brittle that any attempt to handle or work with it caused it to crack or bits to break off. As I will be removing this when the headliner is installed in a month or two I wasn’t worried, as I’ll use the original panel as a template to make a new one out of new material. The same with the upholstery material - it was cheap and I wanted an interim piece in pace that looked decent until I can get the headliner and other interior upholstery addressed.
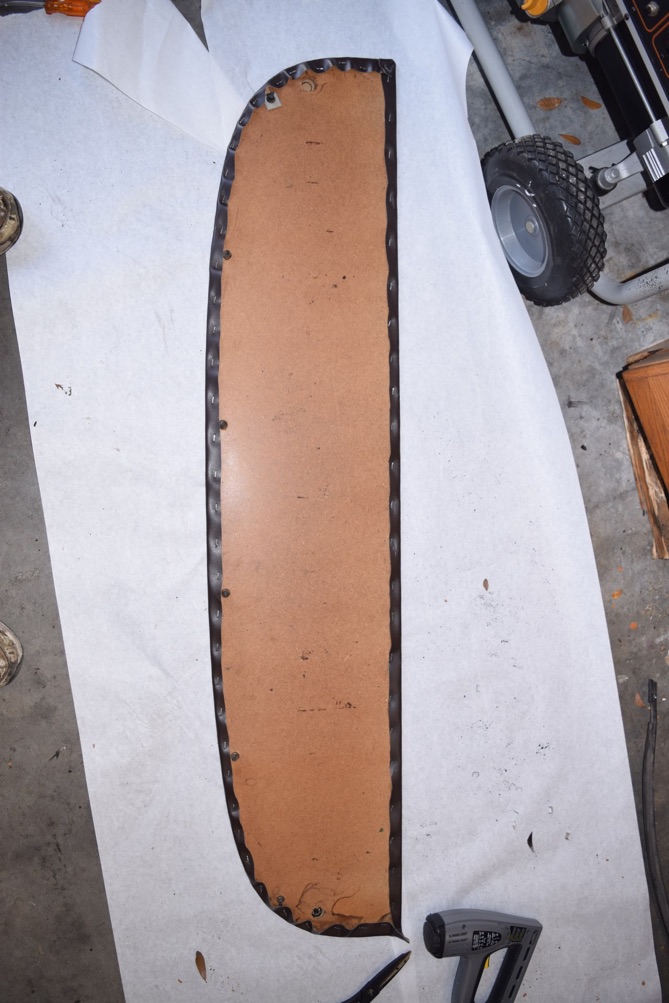
So here is the panel with the new material going on.
I didn’t have to fit it tightly, as it didn’t crease or ripple much. The original staples used to hold the material in place were roughly 1/8” long, as the panel was about the same thickness. The only size I could find was 1/4”, so I went that route and tried to avoid putting a lot of pressure on the stapler when using it. Some of the staples still poked through the material, but these ran along the edge and were pretty well covered by the seat back and material going around the back of the rear window.
Note the two large holes, one in each corner, for the shoulder belt portion of the Kangol seat belts.
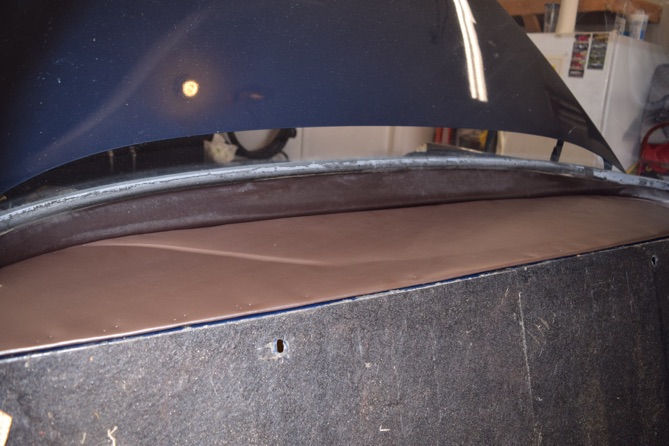
Not perfect, the creases will level out once it gets in the sun for an hour. Again, this is an interim fix so I’m not super concerned about appearance or details. A definite improvement over what was previously there.
As I was lifting the panel into place it broke in half, an example of how brittle it was. Still, it’s not perceptible once everything is installed. You can see some of the “puckering” from the staples. A lot of this will be covered by the rear seat back where it overlaps the panel. The replacement I’ll make will be slightly thicker to prevent this from being an issue, too. I took the opportunity to polish the chrome bolts used to secure the shoulder belts to the parcel shelf as well.
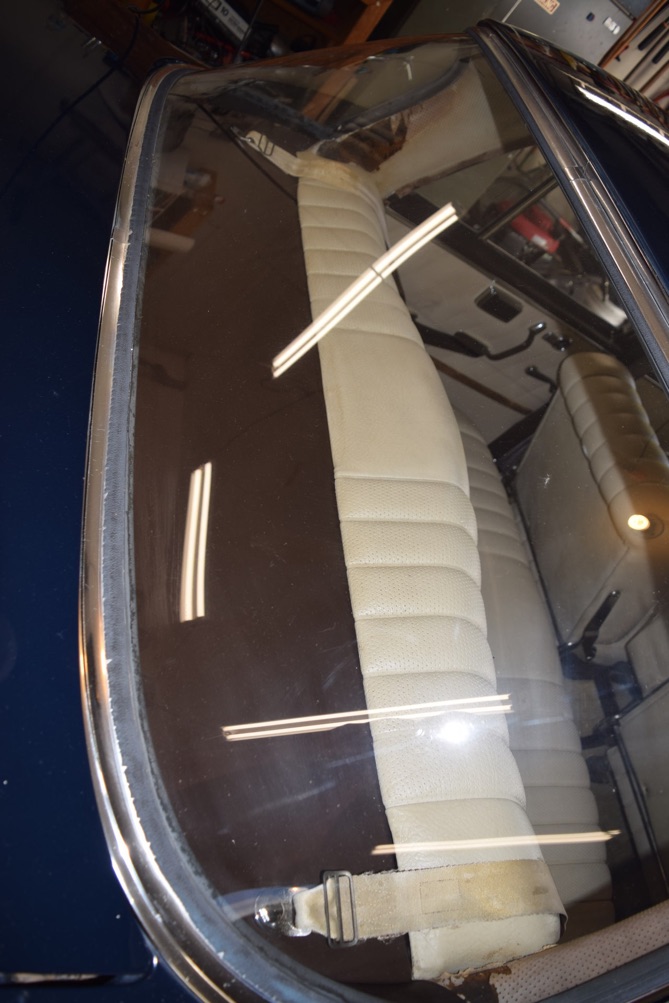
While I was working on the parcel shelf, I was also removing the trunk seal. It, like many other rubber parts on the car, was pretty well petrified, too. So how do you do this? Easy! Get out your can of 3M General Purpose Adhesive Cleaner, 08984. Wicked awesome stuff. Flood the edges of the seal channel, making sure you get the material in the gap between the channel and the seal. You don’t have to use a lot, and soaking the seal doesn’t really help - you want it to get to the adhesive between the seal and the channel. Let it soak for about 15-20 minutes.
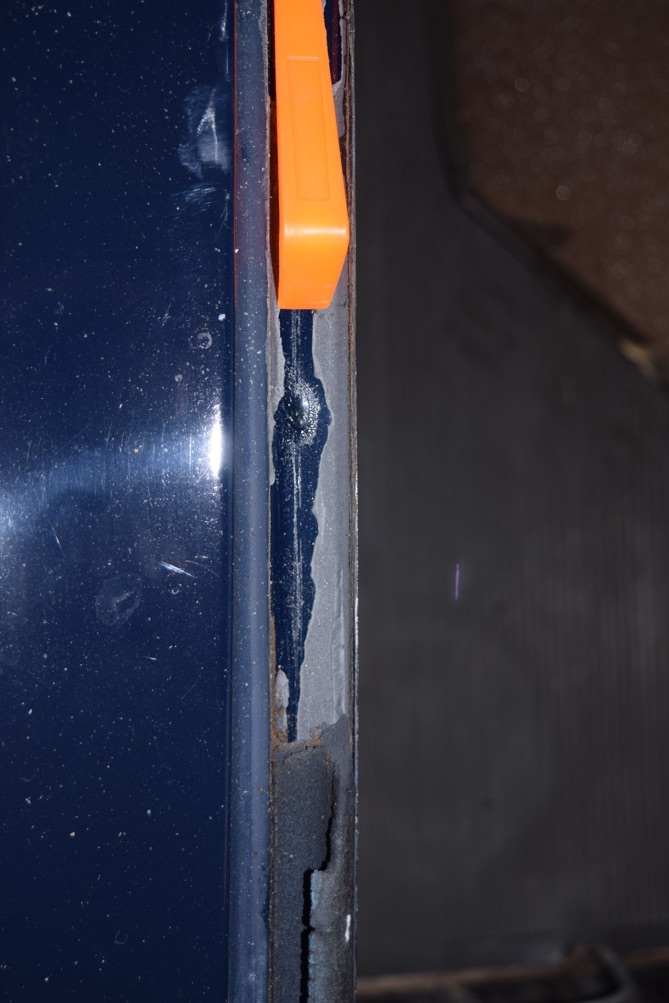
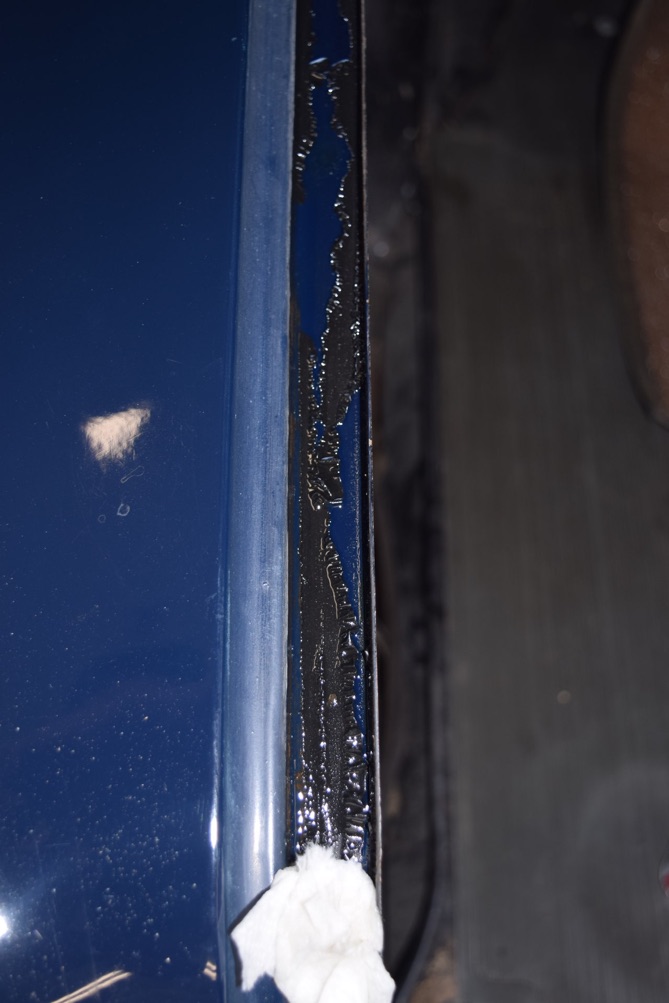
Get a wooden stick, like a paint stirrer, or a trim removal tool, that will fit in the width of the seal channel. NEVER use a metal tool to do this, as you will scratch the paint and create a place for rust to begin! Start out by prying out a piece of the seal. Usually the middle of the side of the trunk opening is a good place to start, as you have plenty of room. If you’re lucky, the seal will pull out of the groove in large pieces. Do your best to remove as much of the seal as possible.
That white stuff is the remains of the adhesive that was holding the seal in place. You can see the remains of the seal in the lower portion of the picture.
Once the seal is removed, and you’ll be using your plastic or wooden tool to do this, get a couple of paper towels or a few shop rags. Wad them up to make a “dam” near the point where the seal channel starts to go vertical. Once you do this, take your can of adhesive remover and flood the channel to soak the remains of the adhesive. You don’t have to puddle it, just make sure that everything in the channel is wet with adhesive remover.
Notice that the material that was previously white is now black or dark? That’s the adhesive remover doing its magic. Let this soak for 10-15 minutes. Once everything has softened, use your wooden stick or trim tool to scrape the remains of the adhesive out of the channel. You may have to repeat this portion of the job to get it all, or do so in selected areas where the adhesive is reluctant to let go. Be sure to get the adhesive off of the sides of the channel as well. The channel should be almost surgically clean so the new seal and adhesive will adhere properly.
The horizontal portion of the seal that is above the taillights is a bit tricky, but the process is much the same. You’ll probably have to use some paper towels or shop rags soaked with adhesive remover to keep this area covered with adhesive remover.
I am waiting on a can of Mercedes glue (part number 000989927109, don’t use anything else!) to install my seal, so that will take place at some point in the near future.