Not..Finished

Not...Finished
Not a lot of activity this week or last weekend, mainly because of the chilly weather here in Florida (highs in the 60s!) Yes, I realize we aren’t going to get much sympathy considering what the rest of the country is going through right now, but the cooler temps prevent me from doing any sort of finish work.
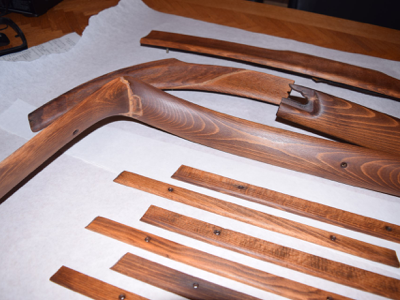
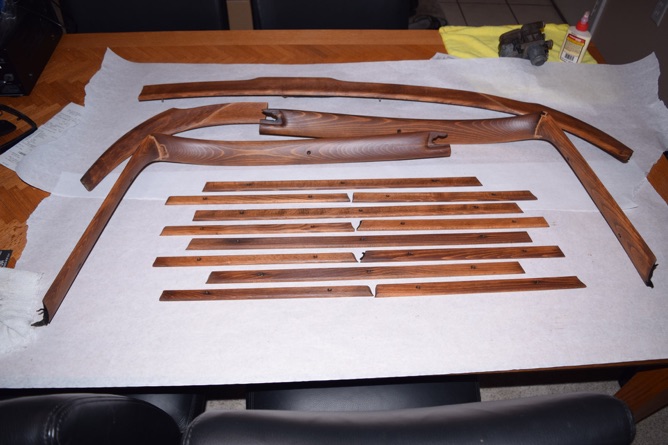
So today we got temperatures into the high 60s in the afternoon so I figured I would go for it. All of the wood parts have been sanded down to 320 grit, which is probably a bit too smooth, but I want a nice surface for finishing. I’ll elaborate on why I could have left things a bit rougher later.
With the raw wood pieces laid out on the counter of my lanai, I got out the MinWax oil based Cherry stain. This color seems to be the best for getting close to the original wood color, as well as providing some blending so that the aged or stained parts of the wood don’t show as badly if a lighter stain was used. I’m not looking for a concours finish here, just something consistent and warm that compliments the interior of the car. Here are the pieces with their first coat of stain.
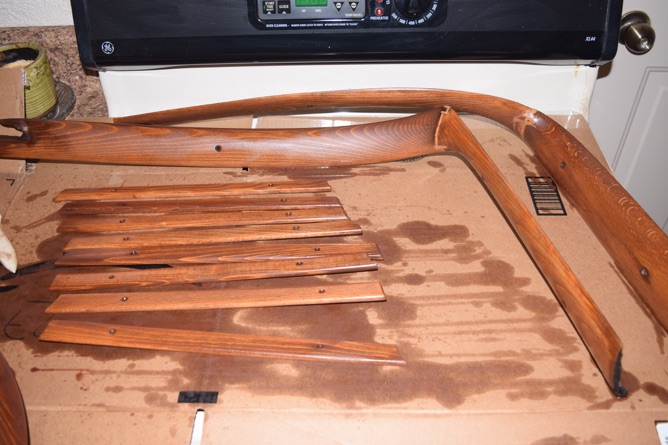
The wood was so dry (as I anticipated) that I was able to apply four coats of stain before it stopped being absorbed. It took nearly 3/4 of the can of stain all total, the wood was so dry. Each coat got applied and was left to soak in for 10 minutes or so, with the last coat starting to pool, meaning the wood had all it could take.
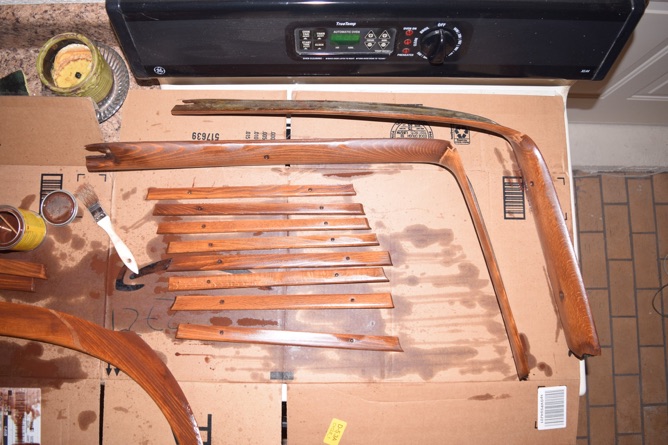
After some time for absorption I wiped down the pieces with a lint free cloth and let them rest. After a couple of hours I brought them inside so they wouldn’t be exposed to cool temperatures and could finish soaking up the stain. I have laid them out in the order they are installed so you can see the variations in the wood.
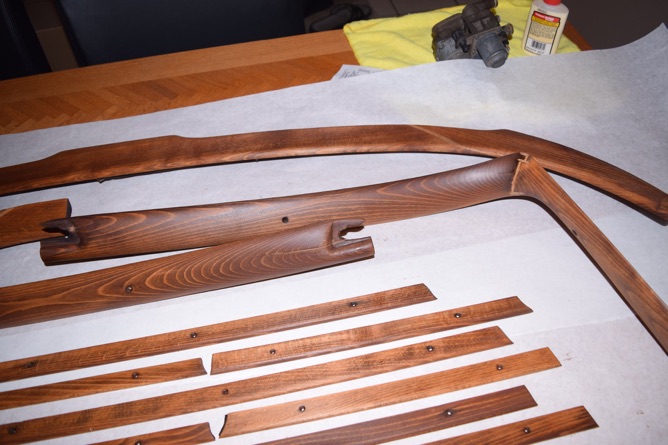
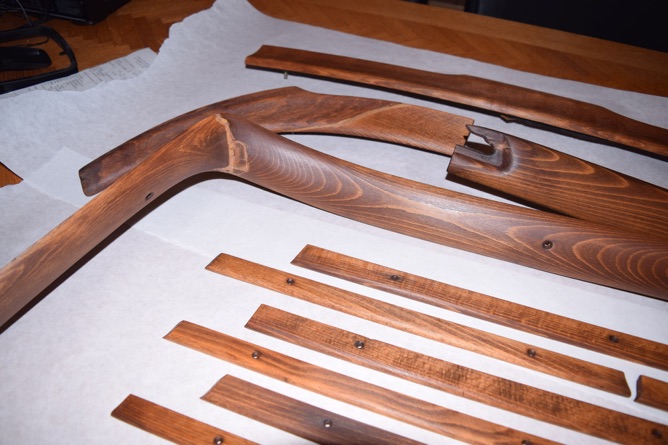

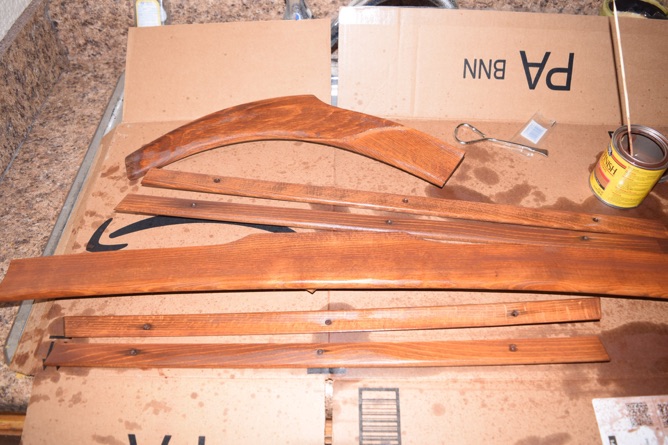
Not perfect or factory original, but a far cry better than they were. Interestingly, there doesn’t appear to have been any effort by the original craftspeople to conceal or disguise the joints or filler. The joints in the windshield surround pieces are fairly large, and filled with some sort of wood filler that is not porous, so stain won’t soak into it.
These will be left to dry and acclimate for a few days now that they have soaked up a fair amount of stain. Once they are completely dry I will apply the spray spar varnish with a matte finish and they will be ready for installation.
Thursday, January 31, 2019