We Got The Heat

We Got The Heat
While I hadn’t planned it for this weekend, after reading up and studying how to pull the heater valves I decided I would take it on today. Part of this was precipitated because I discovered that the FrigiKing AC unit was only held on to the bottom of the dashboard with four sheet metal screws, so I dropped it out the other night to see how things looked under the dash.
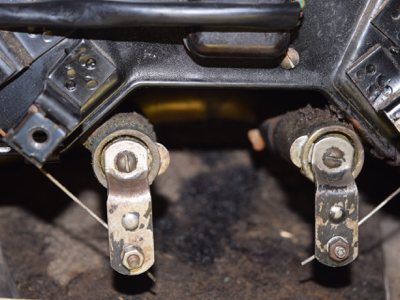
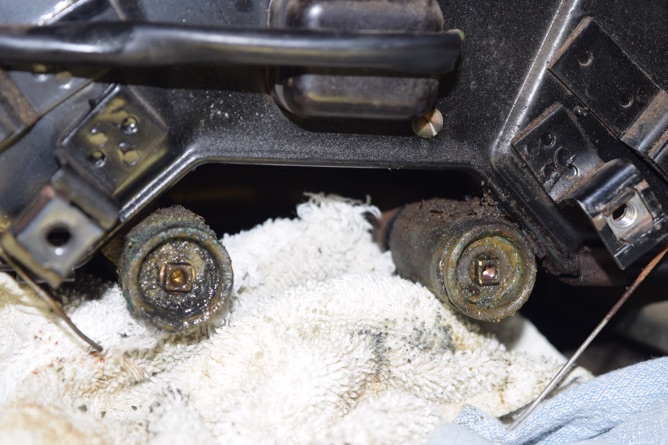
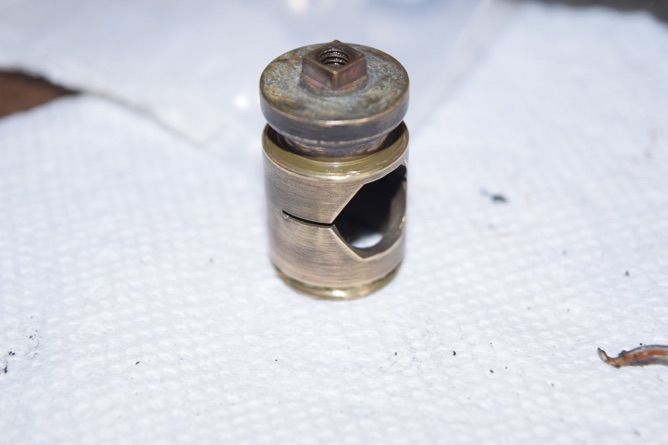
The left valve was working, sort of. The right valve was stuck solid. I drained the cooling system and left it alone for a few hours before I started in. Here’s what the valves looked like after I had carefully removed the levers and the discs that limit the valve’s travel:
Yum! I picked at these with a dental pick to remove as much of the crud as possible, then I put my homemade puller I constructed with a 4mm bolt, some washers, a nut and an 18mm socket to work on the left side first. Success!
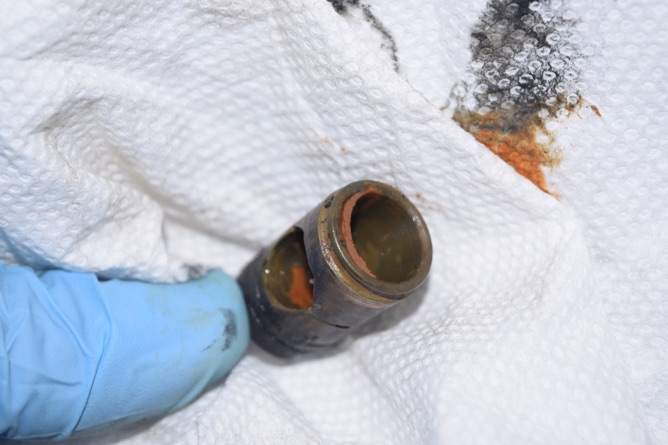
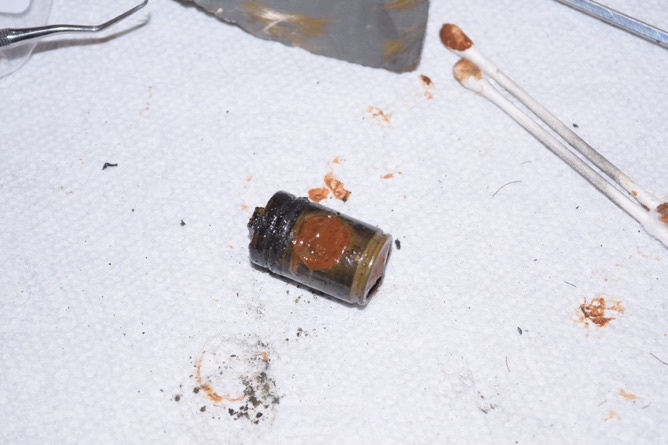
The valve came out with minimal effort courtesy of the puller. It was pretty nasty but the O ring was intact. Note the rusty “sludge” that was inside of it.
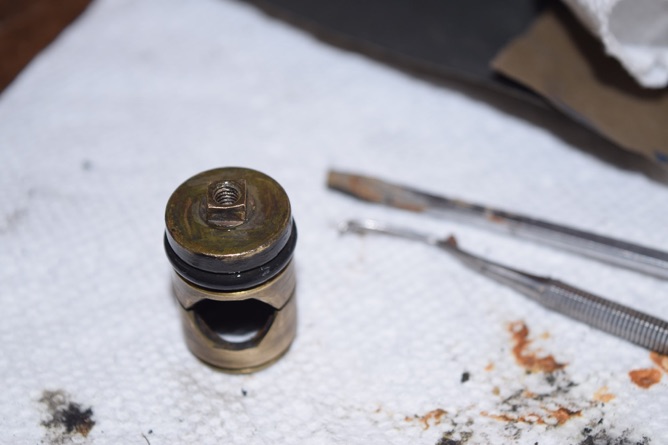
A few minutes with some emery cloth, a brass brush and some QTips and it was ready for the new O ring and reinstallation.
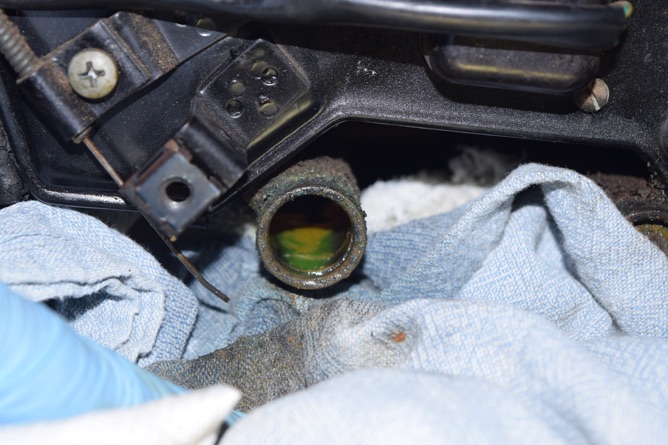
Note the little slot in the side of the opening on the valve. This is an engineered “bleed” slot so coolant can pass through at all times. It needs to be clean and clear of any obstructions. Orientation is critical as well, or you might not get any heat or have heat on all of the time no matter what. On to the right side valve!
Yeah, this was a nasty one. It was in the bore so tightly that I stripped my 4mm bolt and had to go back to my Ace Hardware and get another. When it finally came out I was surprised to see that it was almost completely clogged with the rust sludge. Yuck! It got thoroughly cleaned and a new O ring as well before reinstallation. Do note that I cleaned out the valve bores, too, using a brass bottle brush, along with cleaning the levers, clamp screws and limiter discs as well.
I installed the valves and reconnected the cables, lubricating the cable clamps during assembly. Everything checked out with the operating levers on the dash moving smoothly and at full travel for the valves.

As I had the cooling system drained, this was a perfect opportunity to replace some of the coolant lines in the engine compartment. Most were the wrong size hose (U.S. versus metric) and had incorrect clamps on them. I don’t have new clamps yet, but I’m going to do some flushing of the cooling system over the next week, so I’ll be ordering some this week and replacing them before I do the final coolant fill on the system.
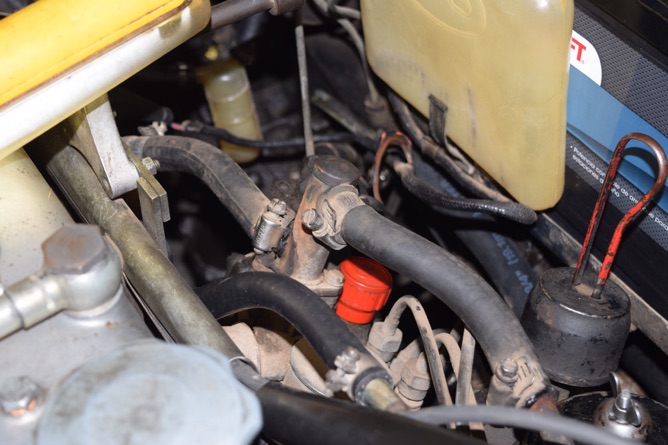
That’s an example of what I was dealing with. Wrong hose sizes, “mushroomed” hose ends from being overtightened to get the incorrect hose to seal, and generally aged hoses in very bad shape.
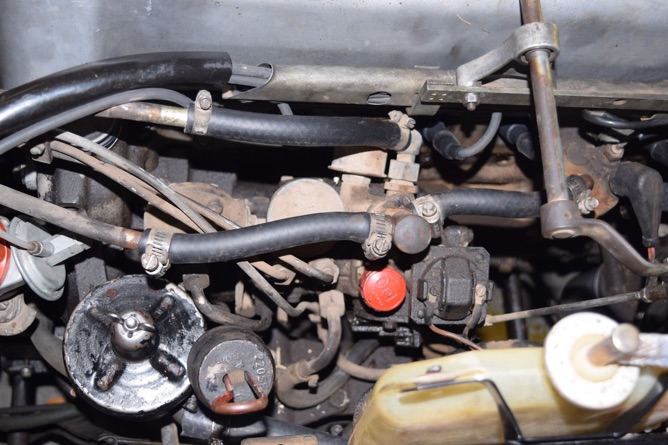
New hoses using the old clamps for now. That was it for the day.
Tomorrow I’ll replace the thermostat (got some Kroil on the cover bolts today in anticipation of removal) and then drain and fill the automatic transmission.
Saturday, January 5, 2019