It’s All In The Details

It’s all in the details
Picked up the remains of several orders from the dealer at lunch today. Still waiting on an air intake hose from Germany, but otherwise I should be current with everything else. Lots of little detail items that I took care of when I got home from work today...
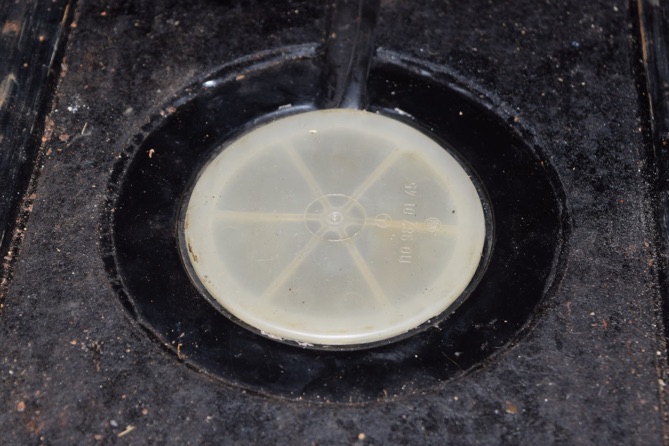
First, the clips for my trunk badge and a new trunk tristar. I forgot to take a picture of the badge and tristar, but I posted a picture of the badge after painting the details on it a few weeks back. New tristar to replace the pitted one. I also installed a rubber vent cover for the evaporative system on the fuel tank, too. I’ll get them in the next blog post.
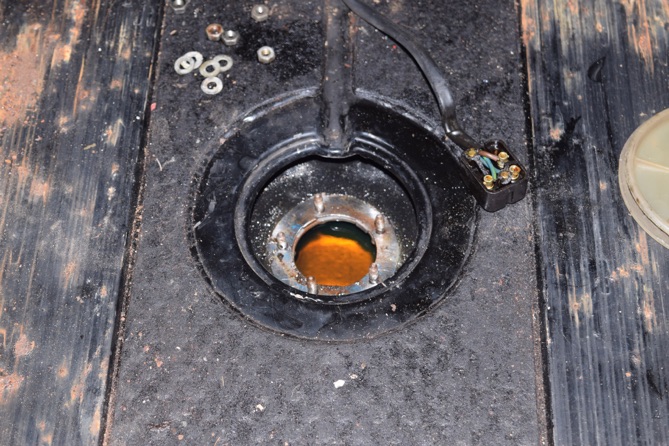
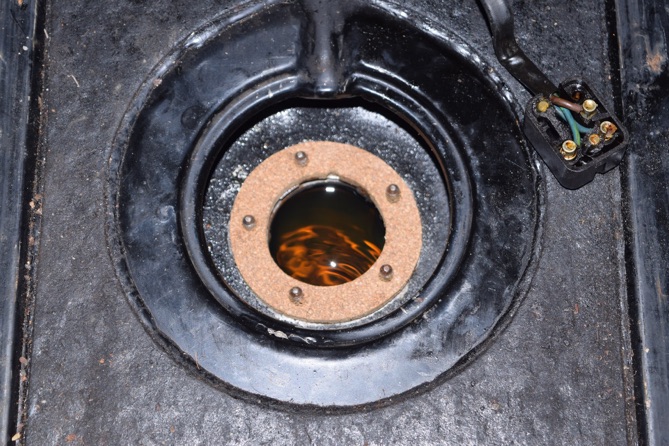
Next, replace the leaking fuel gauge sender cover seal. This is a cork gasket or seal that seals the opening where the fuel gauge sender is located in the fuel tank. The old seal was compressed, dry and brittle and as a result I was getting fuel vapors and some seepage. Not a good thing. So out the gauge sender comes.
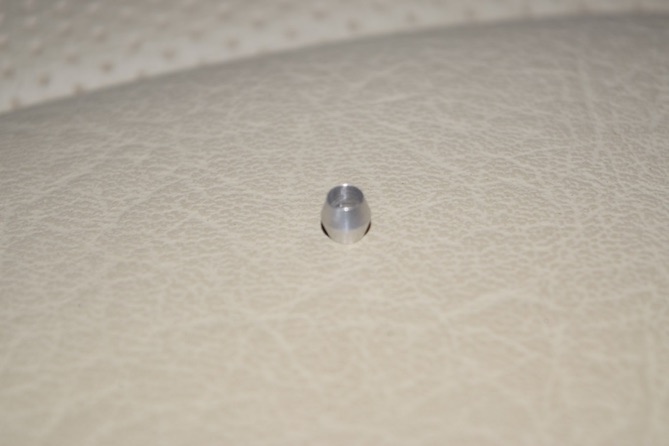
The sealing surface of the gauge sender was really cruddy, so I spent a good 20 minutes with a dental pick scraping the old gasket material off as well as some of the pitting that had occurred from moisture over the years.
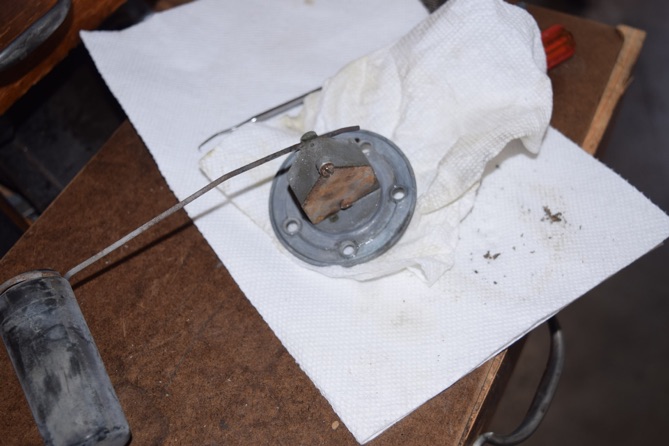
Much cleaner now, and very likely to seal far better with the new gasket.
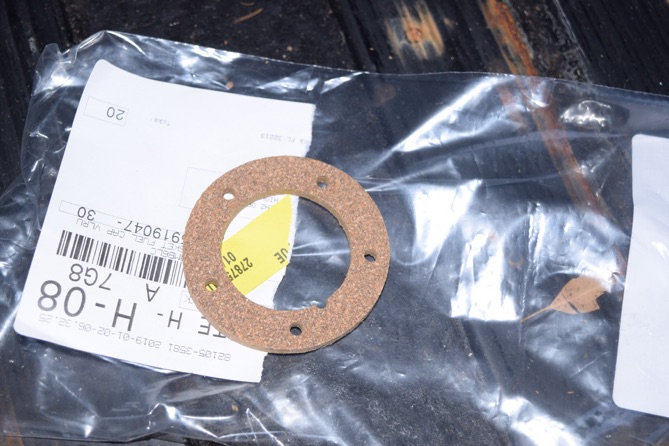
Now looking at the gasket one would assume that the holes are symmetrical. They’re not. It only fits one way. I lined them up with the holes in the flange on the gauge sender to figure out the alignment. Once I did this, I pressed the gasket over the captive bolts in that hold the gauge sender in place on the top of the tank.
And everything is now buttoned back up and sealing nicely!
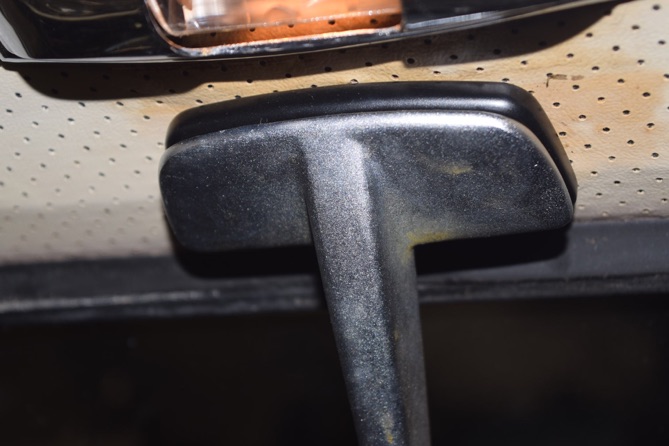
After putting the trunk liner back in place, I moved to the passenger compartment. I had a new mounting plate for the rear view mirror. The old mounting plate was so worn from the retention pins rubbing against it over the years that the mirror was no longer held in place tightly, making it vibrate while driving the car. The previous owner had placed piece of cardboard between the mirror and base to keep it in place and prevent it from vibrating, but it wasn’t doing a very good job. The new mirror base was quite different from the original one. Covered in what appears to be black plastic or rubber, no longer chrome plated. A bit thicker as a result as well.
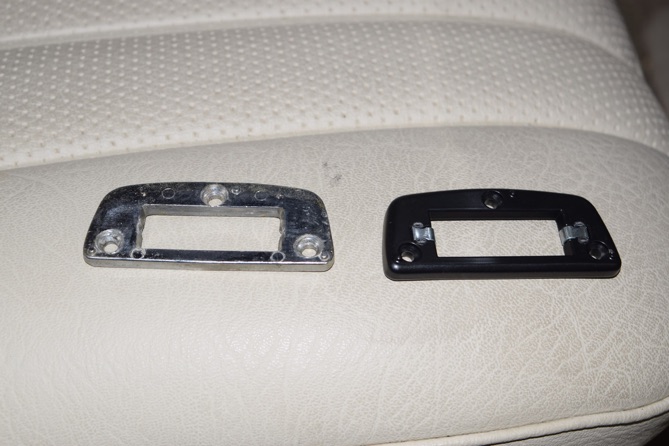
Also some reinforcement where the mirror base pins rub against it, too. Got the new base attached to the roof of the passenger compartment and prepared the mirror for reattachment.
Installing Mercedes rear view mirrors can be a challenge on the best of days, unless you have the special tools....
So here is how to do this, and it applies to any of the spring loaded pin type arrangements they use:
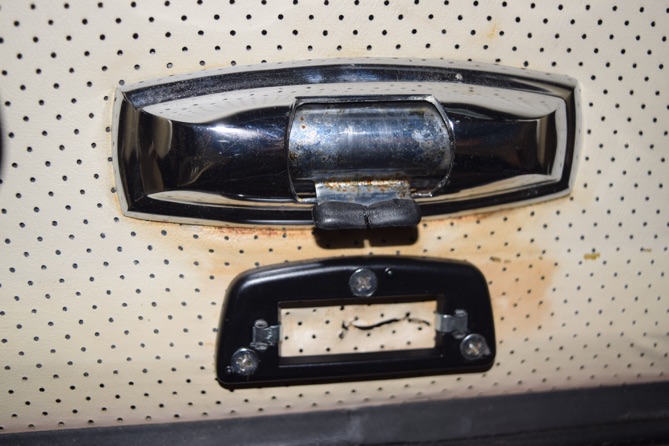
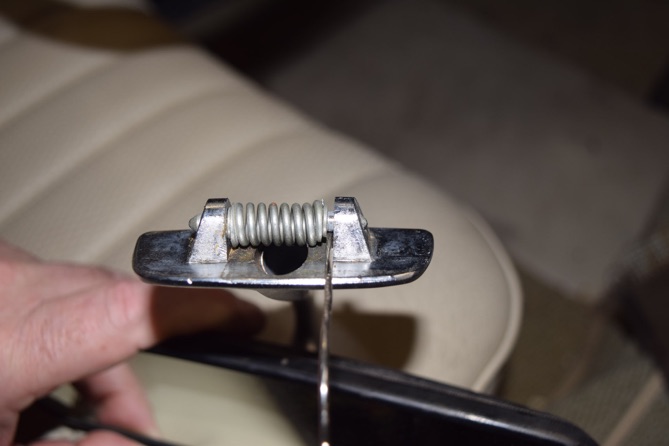
Get a spring clip (“bulldog clip”) from your desk drawer or office. Remove the chrome plated wires. Straighten one end of the wire out. Bend the other end at a 90 degree angle to make the wire a large “L” shape. Using a pair of slip joint/Channel lock pliers, compress the pins on the mirror base. With the pins compressed, slip the straight end of the wire between the end of the spring and the boss like you see in the picture above. Do the same with the other piece of wire on the other side of the spring.
With the pins retracted you can press the mirror base into the mounting plate with ease. Hold the mirror base in place and using the “L” shape of the wire, pull each wire out, releasing the spring and retaining the mirror in the mounting plate.
Done! And now on to the engine compartment....
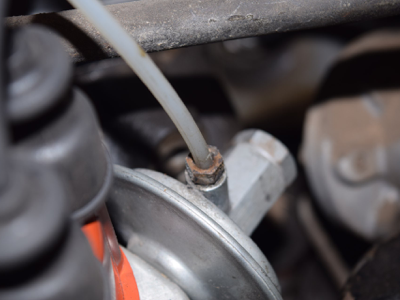
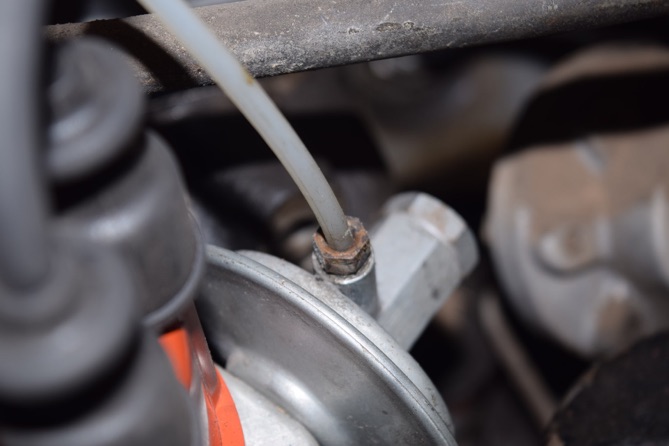
The last item to deal with today was the aluminum ferrule on the the vacuum line to the distributor vacuum advance. Metric size, tiny little thing, but without it the line won’t seal.
Trim the end of the line so it’s square, put the compression nut on the line, then the ferrule, then assemble. This is the old one:

And now all assembled and no more splices in the line.
So nothing Earth-shattering today, just some little stuff. It’s these easy wins that make for a nice day.
Wednesday, January 9, 2019