Car-a-palooza!

Car-a-palooza!
This entry is going to be a compilation of a bunch of things I’ve done over the past week or so. Lots and lots of little stuff, cumulatively ending in major progress on the car. So sit back and enjoy the ride....
Where to start?
Last week I started in on the dash, windshield and window surround wood. I had stripped it down to the original wood as best I could, removing as much of the old finish and color as possible. As the wood was exposed to water as a part of the stripping process, the grain was raised on many pieces, so I had to spend a fair amount of time sanding the surfaces to get them smooth again. That meant starting out with 220 grit and working my way up to 320 grit in gradual steps. I didn’t want the surfaces to be too smooth, as that would prevent the stain from properly penetrating the wood and make it look “blotchy”.
Once the wood was sanded, a tack cloth was run over it to remove all dust, and then Minwax oil-based cherry stain was applied. While it’s not the exact color match for the original finish, it gives a warm depth to the wood that I like.
Parts were allowed to dry, then the fun begins! The garage is cordoned off with a couple of fans to create negative pressure, and the parts are hung on pieces of wire and sprayed with MinWax matte finish spar varnish. I’ve found over the years that the MinWax product does a great job of preventing UV damage to wood that’s exposed to the sun, and the matte finish gives a very deep shine without looking like a mirror.
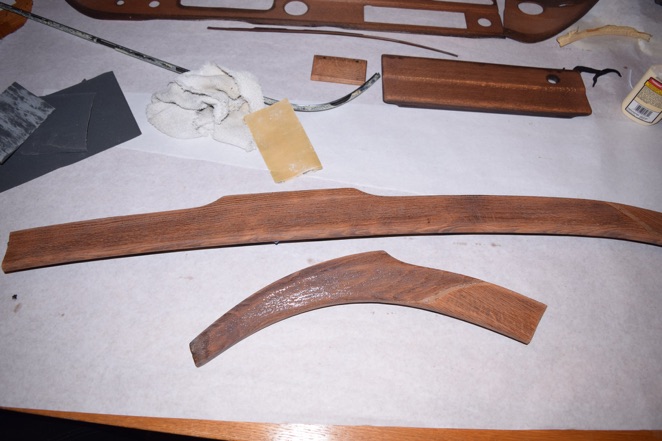
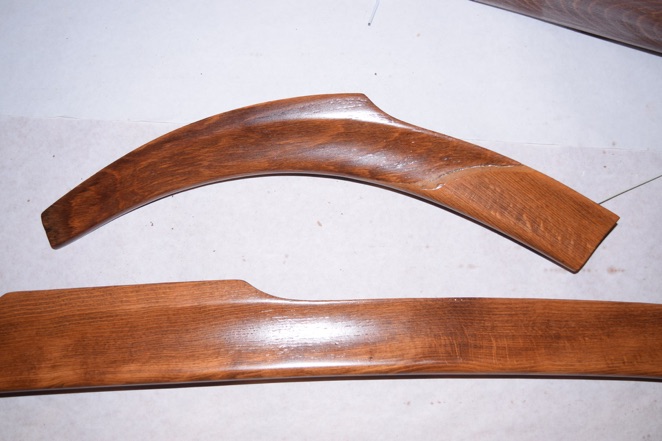
It’s near impossible to see the finish as it evolves, but I’ll put a few pictures up for grins. Here are some door surrounds after getting a coat of spar varnish.

The lower windshield/dash trim after its first coat of varnish.

And after the first knock down sanding of the varnish coat.
These pieces in particular will get many coats of varnish, for a couple of reasons. One, they have really deep grain, so to get a smooth finish coat I will have to spray, sand and repeat a number of times to get the final finish coat level. I’m on coat number two, and much of the surface irregularity is gone. I expect that these pieces will probably end up with something in the range of 10-12 coats of varnish.
The windshield surrounds are very smooth, so they’ll finish up easily.
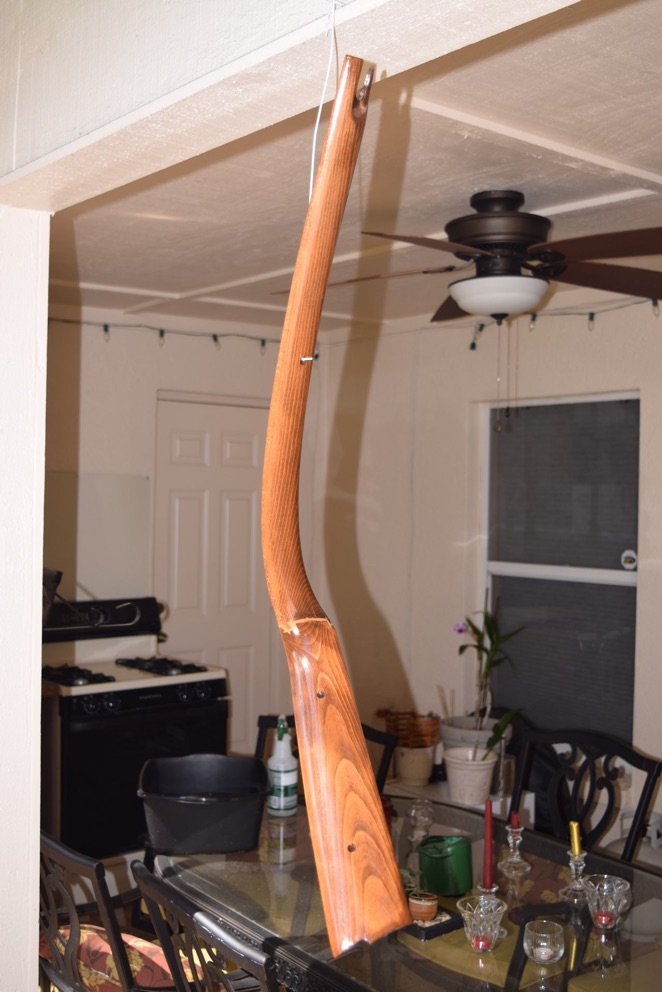
This is after one coat of varnish and you can already see a nice shine to the surface. I’ll knock that down with some 320 grit sandpaper and lay down another coat of varnish. Then sand or polish the next coat with 400 grit or finer to get the shine up, then a final dust coat.
Sanding these pieces is tricky at best, as you have to be very light in your touch or you’ll sand through the finish and possibly the stain.
So wood finishing will continue for the next week or so. No rush, I want to get it right, and also have plenty of time for the finishes to cure so they’re less likely to be damaged when the wood is installed. I also need to get some pieces of felt for the joints between the wood to prevent noises as the original wood pieces had. The lower dash wood also has a felt strip I’ll replace that prevents it from making noise when it’s in contact with the dash.
Last Friday I took the car on a sort of shakedown cruise so my headliner installer could see it to determine exactly what I had and was needed to be done. I drove the car to work, then to the headliner shop, and back home, a round trip of maybe 50 miles. The trip consisted of half interstate and half surface streets. The car performed admirably, and while I was on our reversible commuter lanes even seemed to want to stretch its legs, so to speak. Maybe it thought it was on the Autobahn....
As with any car that new to you, you’re sensitized to every little noise, squeak, bump, you name it. By the time I got to work, about a 20 mile drive of half highway, half surface streets, I was feeling pretty confident and relaxed. The drive to the headliner shop was uneventful, as was the return trip to the house.
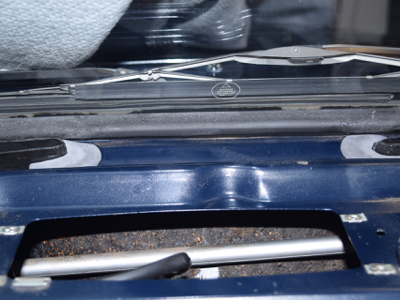
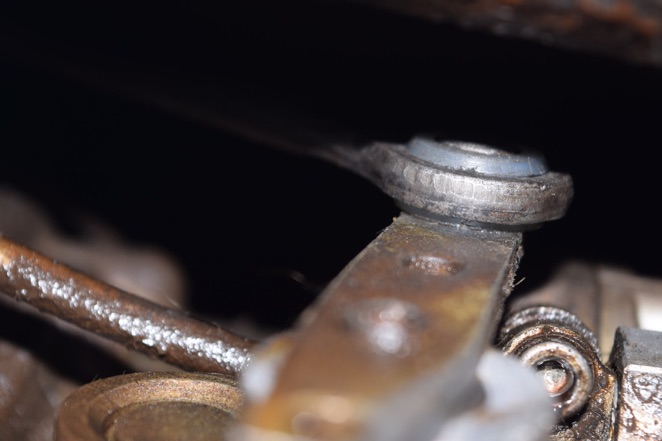
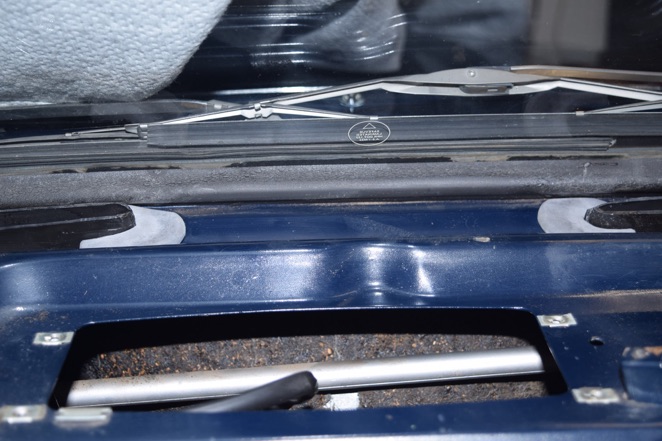
I pulled into the garage and was a little crooked in my location, so I decided to back out and reposition the car. The spouse parks her SL500 next to this car, so I try to give her plenty of space since the SL500 has very, very loooong doors. I put the car into reverse. It creeps forward. I put it in neutral. It creeps forward. I move the shift lever around and figure I’m not changing gears. Hmm. I shut the car off and take a look underneath for anything obvious. Here’s what I see:
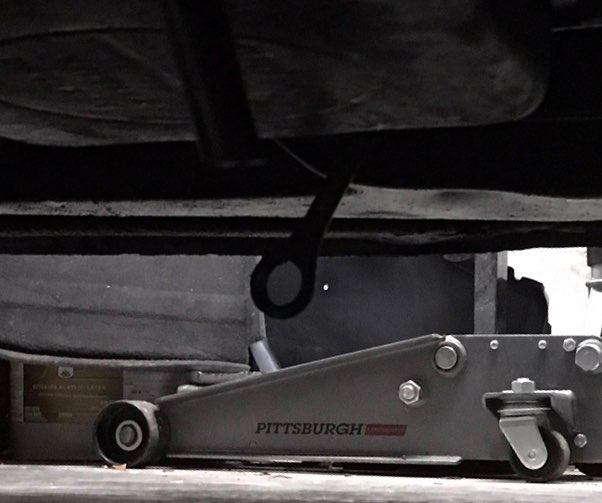
That’s my shift linkage hanging down under the car. A $3.00 bushing had failed from age, most likely, and didn’t do so until I was on my way home. That convinced me that this car is truly reliable. Even when it broke it got me home!
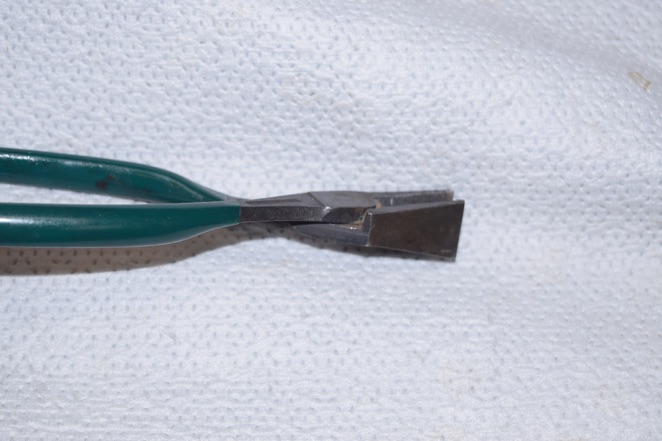
I got a couple bushings from the local dealer. I got the car in the air and put a bushing in a cup of very hot water for a few minutes to soften up slightly. Pressed the bushing in the linkage, then used a pair of grozing pliers to pop the linkage onto the shifter lever on the side of the transmission. The grozing pliers are great for this, as they’re wide and flat, so they’ll easily open wide enough to get over the whole bushing and back of the shifter lever. A quick squeeze and the bushing and linkage are in place.
Just for reference, grozing pliers are used in stained glass work (I used to do stained glass many years ago.) I‘ve found them to be quite helpful in working on cars, too.
With the new shifter bushing in place, I was looking for some other things to do with the time I had left. Next I replaced the petrified rubber bushings that keep the defroster vents in place and prevent them from rattling against the dashboard. The old bushings were hard as a rock and shattered into dust when handled.
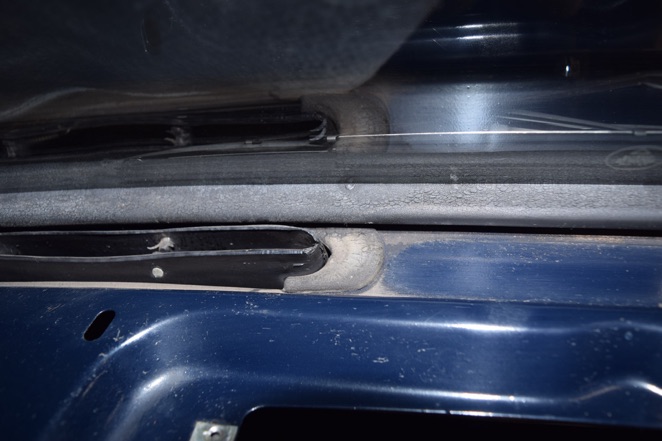
I removed the remains of the old bushings and cleaned the area where they had been. Using a plastic trim tool, I worked the new bushings into place. Now all four bushings have been replaced with new.
Here is a comparison between new and old bushings.
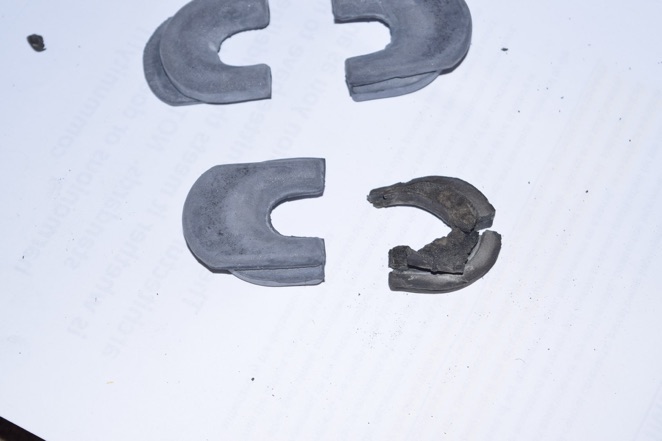
Yeah, not much left of that one. The rest pretty well disintegrated into dust.
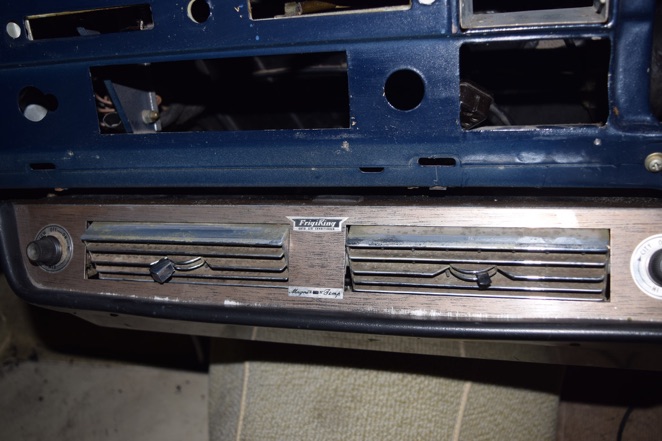
Noticing the AC vents being a bit cruddy, I went at them with some chrome cleaner. They really need to be disassembled and cleaned properly, but this is a start.
And after.
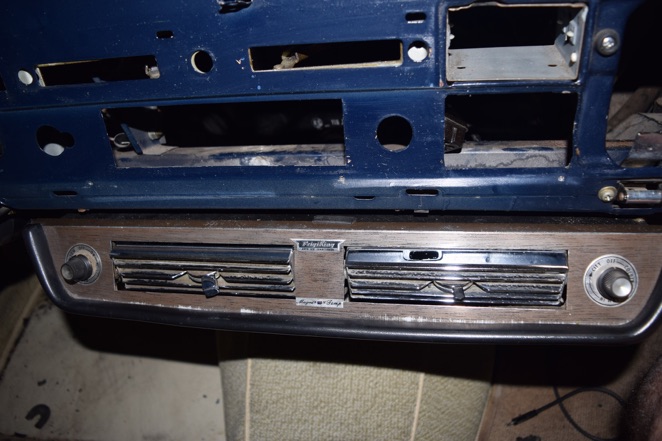
I can see I’m going to Need a LOT of QTips to clean these when the time comes.
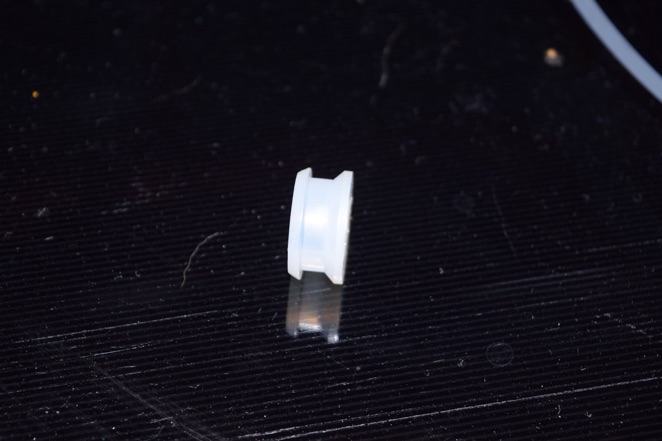
Lastly, I moved to the trunk where I had a couple of things to do. Not many people would know what these are:
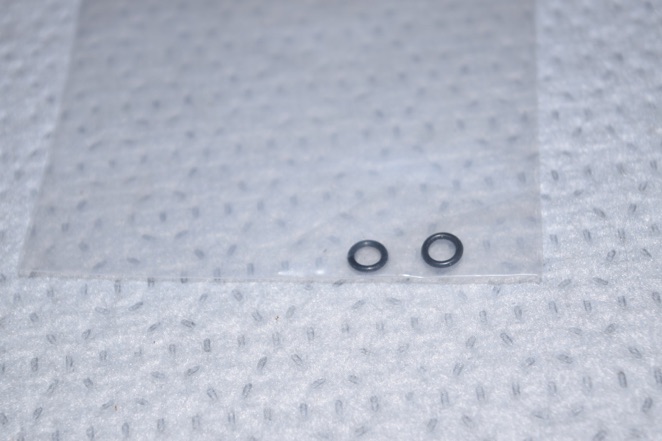
Give up? They’re sealing rings for the trunk model designation badge. They’re installed under the whiz nuts on the inside to prevent water from getting into the trunk through the holes where the pins from the badge go through the trunk lid.
With that, I’ll close with a couple of shots of the dash wood that just got a second coat of varnish. Shining up nicely!
Monday, February 11, 2019