Trunk Show

Trunk Show
With the weather warming a bit this weekend I decided to try and get some things done. There was a bit of rain that came through, so spraying the wood trim was not a good idea. I moved the the trunk area to take care of a few things there.
First of all, I glued in the new trunk seal. I already covered the removal in an earlier blog post, so nothing new there. Because of the weather conditions, the open time for the adhesive was pretty short, maybe five minutes, so I didn’t get any pictures of that process. I’ll outline it here:
1.) If you have a trunk with a courtesy light in it, remove the bulb. Make sure seal groove is clean by wiping it down with a shop towel soaked with 3M Adhesive Remover. Let it flash off.
2.) Get seal around the trunk supports. What? yes, if you don’t pay close attention, you won’t realize that the trunk seal has to go around the trunk supports to fit into the seal. Therefore, you have to disconnect the supports, one at a time. The easiest way is to remove the locking clip on the top of the trunk support with a screwdriver. I use a brad puller, as the two “legs” allows you to lift up on both sides of the clip at one time and not distort it.
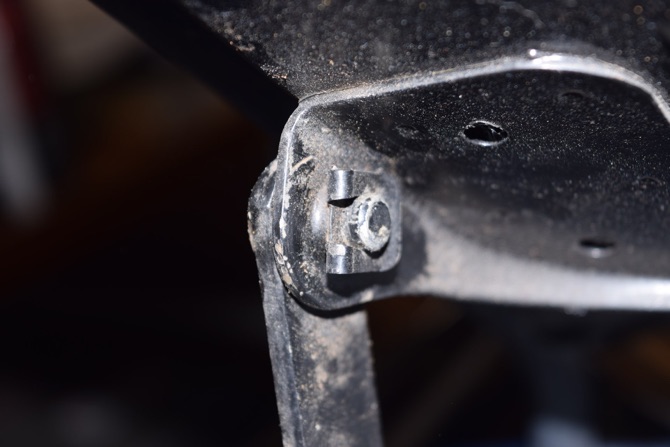
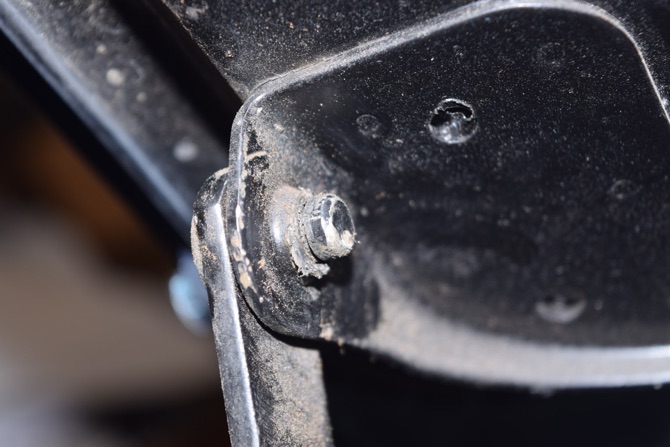
3.) With your seal laid out in the proper alignment, hold the lid of the trunk up with your back and carefully remove the support from the pivot on the trunk lid. There is some spring pressure on this, but you have leverage at the point where you’re holding on, so it’s not difficult to hold while you get the trunk lid seal over the support.
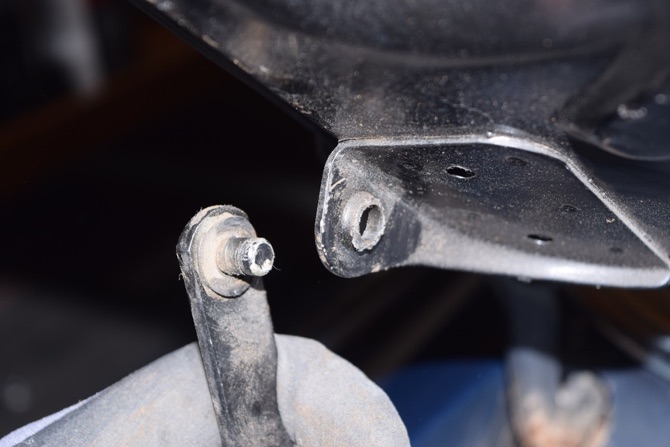
4.) Slip your trunk seal over the support, then insert the pin back in the pivot. I also took the opportunity to put a few drops of ATF on the pivot before reassembly, as it never hurts to keep things lubricated! Also note that there is a “wavy” washer on the pin that separates the support from the pivot on the trunk lid. Don’t let that come off or lose it while you have the pieces apart.
5.) Put the clip back on the pin to secure it. Repeat for the other side, making sure your trunk seal isn’t twisted when you put it in place.
6.) At this point, get your rag and 3M adhesive remover and clean the back side of the seal. Let the adhesive remover flash off.
7.) Dry fit the seal. In most cases you’ll find a seam in the seal that will help you to center it. I’ve found some trunk seals with seams at the bottom of the trunk opening, others at the top. Mine was at the top. Also, since there are clearly defined 90 degree angles in this seal it’s pretty easy to align. Note that the seal has a sort of “L” shaped cross section, with the bottom of the “L” being sort of “fat” in the sense that it’s the part that fits in the seal groove. When you dry fit look closely at how the seal fits in the seal groove,and that when it’s properly installed, the top corner of the bottom of the “L” is flush with the top edge of the seal groove. When you have it installed properly, the top of the “L” stands up and is curved slightly so that when the trunk lid contacts it the seal “lays over” and seats against the inside of the trunk lid. I’m not sure how to explain this better, but while you’re dry fitting the seal you’ll see what I mean.
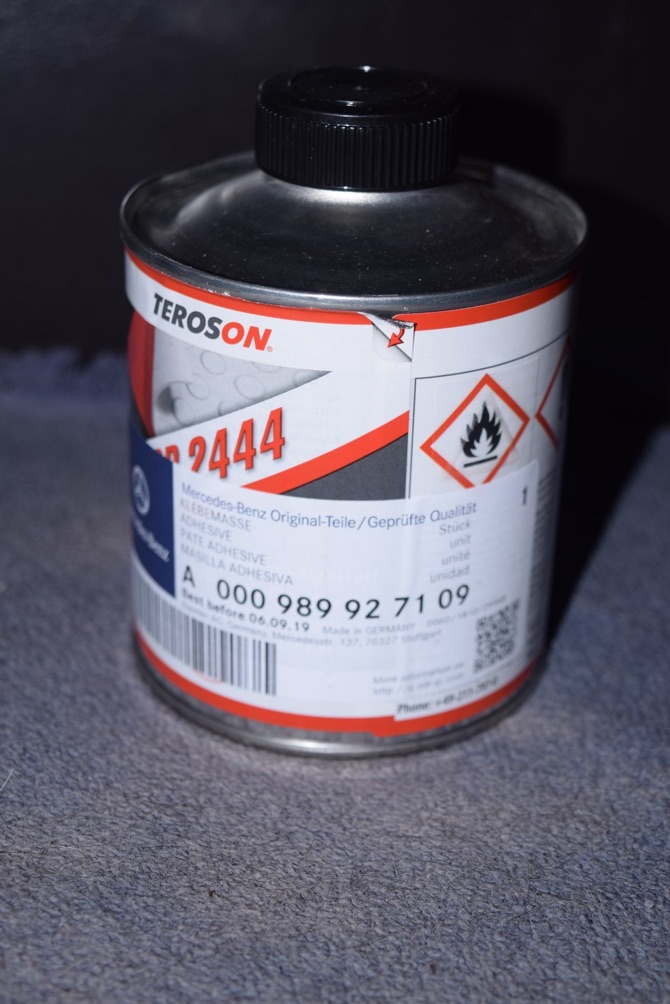
8.) Get your adhesive ready. Pull the seal out of the groove part of the way so it’s not installed for maybe 1/2 of the seal. That way it stays aligned somewhat slightly tensioned so it goes in without being compressed or stretched. Always use the proper Mercedes adhesive!
10.) As this seal has 90 degree joints in it, as you approach those use them as references for the position of the seal as well as to make sure you don’t stretch or bunch it up. With the corners done the last portion that goes horizontally across the back of the car is pretty easy.
11.) With the seal installed make one last check for stretching or bunching, and once satisfied it’s in the groove properly, let it dry. If possible, leave the trunk lid up for a day so the adhesive can completely dry. At that point you can close the trunk and check the seal for fit. If you find that it is not “leaning over” or being bent the wrong way, place a piece of waxed paper over that section of the seal, close the trunk lid, then carefully pull the waxed paper out of the joint. You may have to do this with the trunk lid down but not latched if the pressure is too great. Once the waxed paper is removed with continuous pressure on the trunk lid you can latch it. Depending on the temperature and time you leave the trunk lid closed this should cause the seal to lay in the proper position.
With the trunk seal done I was looking around for something else to do in this area. I hadn’t cleaned and relamped the right side taillight, so I removed the back cover after disconnecting the electrical harness. The area was pretty clean, but the lamps were in poor condition, mainly due to age.
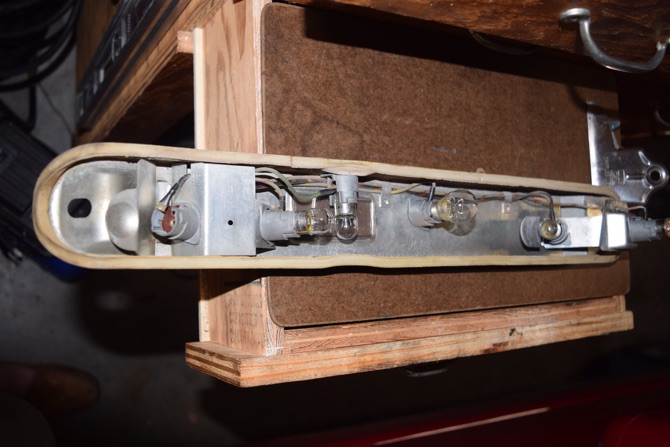
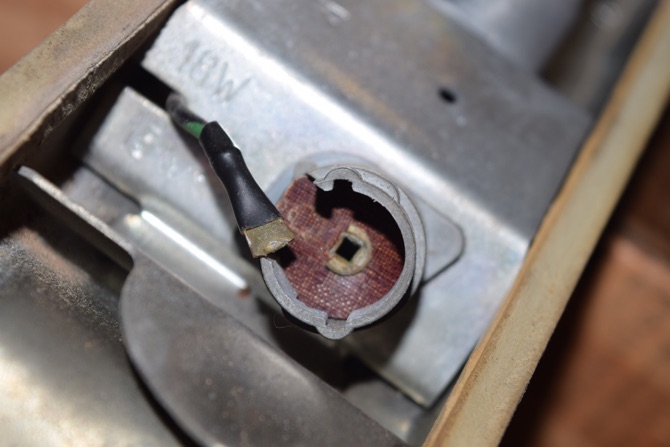
I removed the old lamps and installed new lamps in each socket. I happened to notice that the corner lamp socket had a broken wire on the socket base, so I set up to repair that.
I cleaned both pieces as well as I possibly could to brighten the copper and remove any corrosion. I soldered the pieces together as best I could, letting the solder fill the hole in the base to give it some strength and a bit more area for the base contact of the bulb to touch.
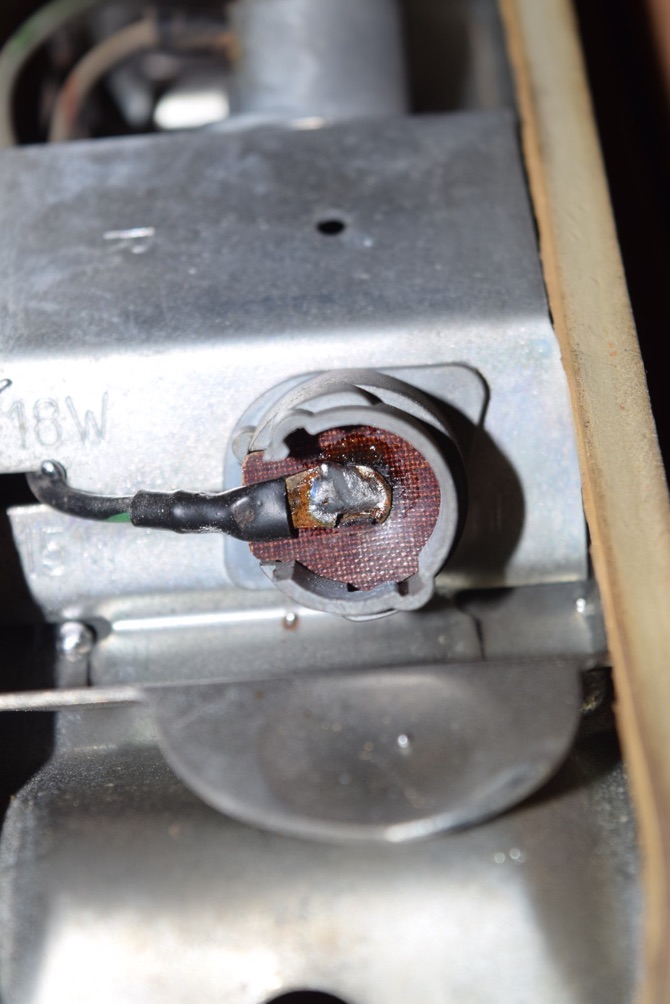
Not pretty, but functional. I’ll keep an eye on this to make sure it doesn’t break again.
I reassembled the taillight and checked all of the lamps. Everything worked as intended and was quite a bit brighter, something that’s really important on these older cars since the lights aren’t that bright to begin with.
Speaking of bright, I also took the time to try out some new chrome polish I got on the rear brightwork. While the upper bumper pieces are pretty much beyond hope, as the plating has worn off due to age and the elements, the lower bumper pieces are still in relatively good shape as far as the finish. It’s difficult to see, but on the left is the original finish, the right after it’s been polished.
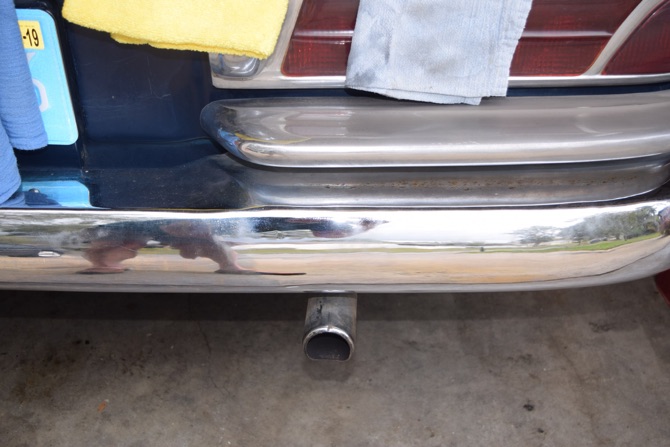
I did the whole back bumper and was pleased with the results. I also hit the tailpipe with it, too.
From there I started in on the removal of the dash pad and dashboard wood. As I didn’t complete this, I’ll leave it for the next blog post so I can have the whole thing documented in one post.
Saturday, February 2, 2019

