Light at the End of the Tunnel

Light at the End of the Tunnel
Over the past couple of days I’ve been chipping away at the last of the interior and related items that need to be completed. I’m down to the last two pieces of windlace and the right side “B” pillar cover.
I took care of some surface rust on the sills of the left side, etching them then applying POR-15 to stabilize and stop the surface rust that is so common under the sill mats.
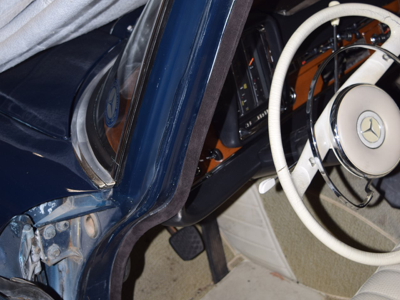
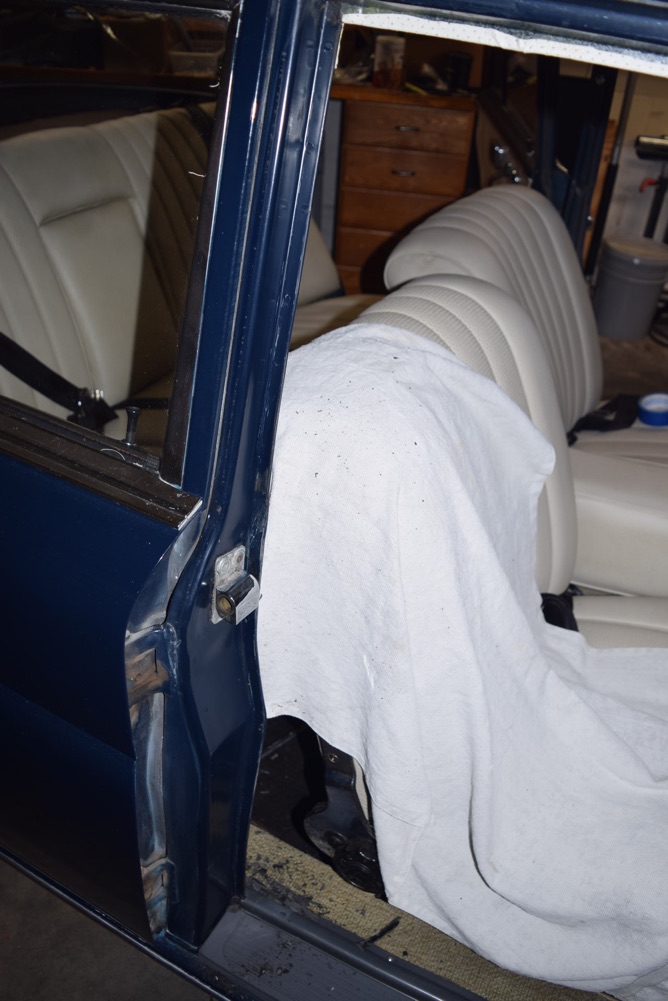
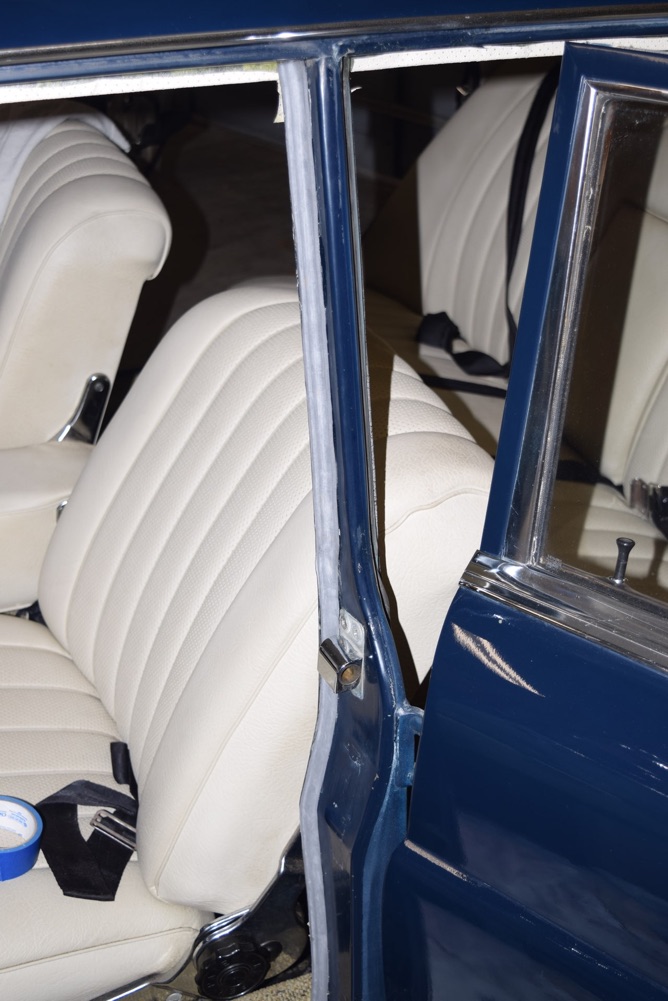
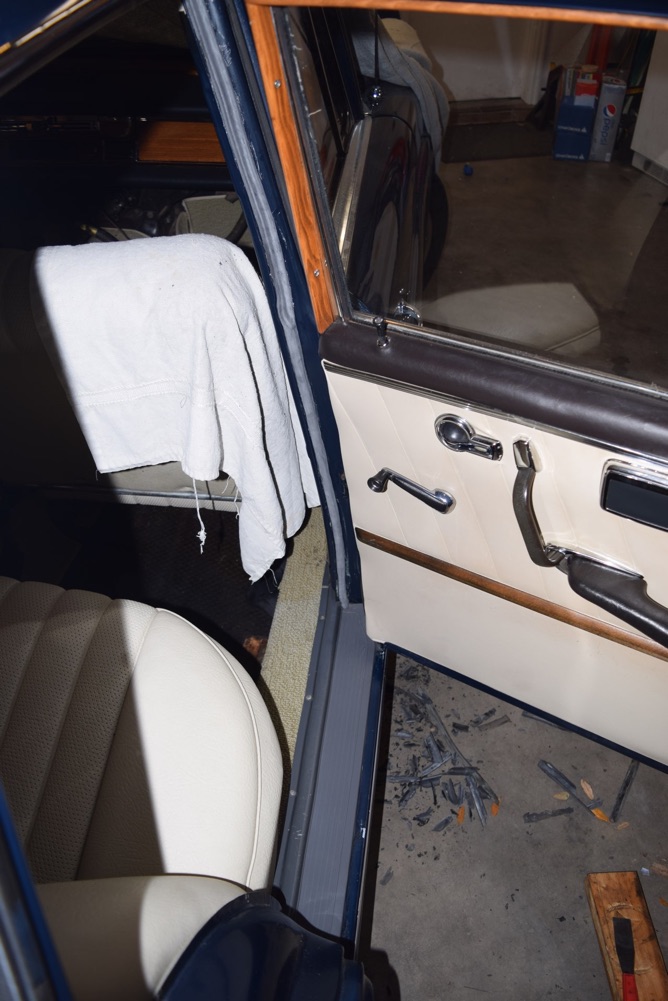
While waiting for the POR-15 to dry, I was looking at the weatherstripping on the “B” pillar that was probably original and in pretty bad shape. I had ordered replacements from the same supplier I got my dash pad from, so I pulled them out of the inventory and had a look. This is the front right door opening and the “B” pillar with the weatherstripping removed. It goes along that front edge and behind the door strike, top to bottom.
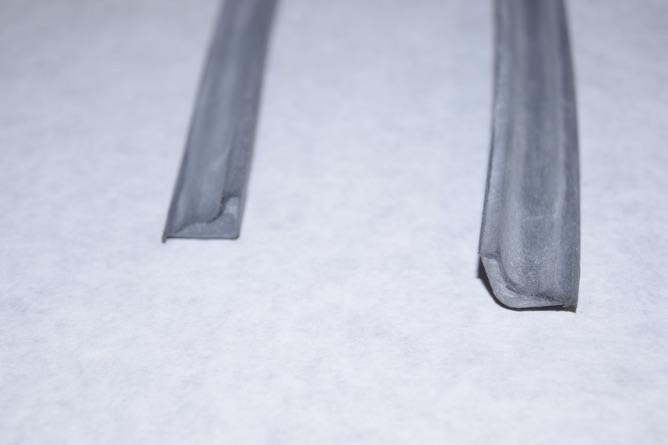
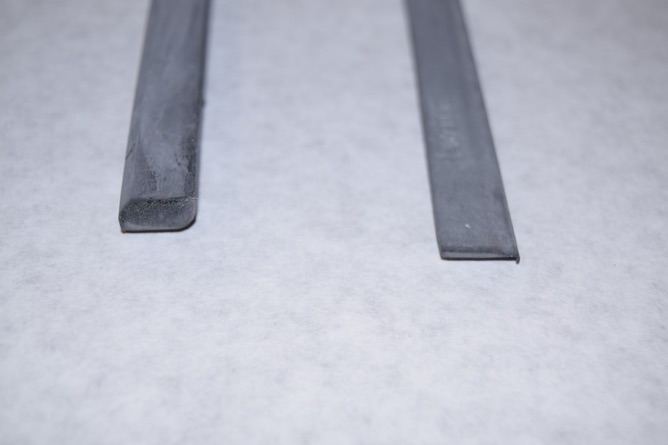
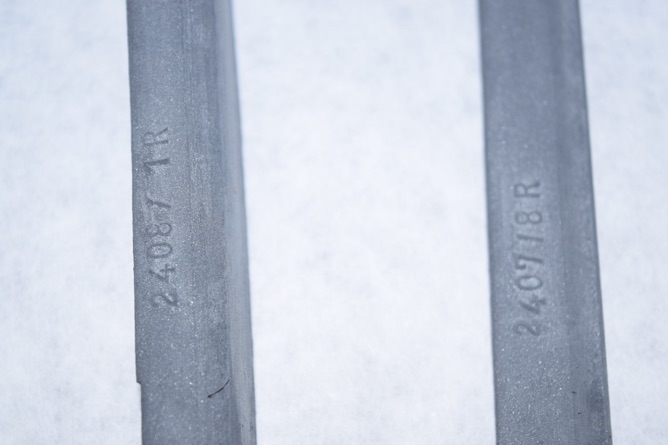
The pieces clearly have a different profile - the front piece is “L” shaped for the top half, then more or less flat for the lower half. The rear piece is “L” shaped for the top half and almost square for the bottom half. I figured it out on my own, but while I was preparing one of them for cement I happened to notice they had an “L” and “R” on each piece, which would be a big help if you didn’t have the originals intact as an example.
So out comes the can of Mercedes contact cement and the 3M Adhesive remover and I went at it. removing the old weatherstripping wasn’t bad, as the material was so old and brittle it came off in big pieces. After scraping everything I could off with a plastic scraper, I gave the remains a good soaking with 3M Adhesive Remover and I was down to the paint with a clean surface for the cement.
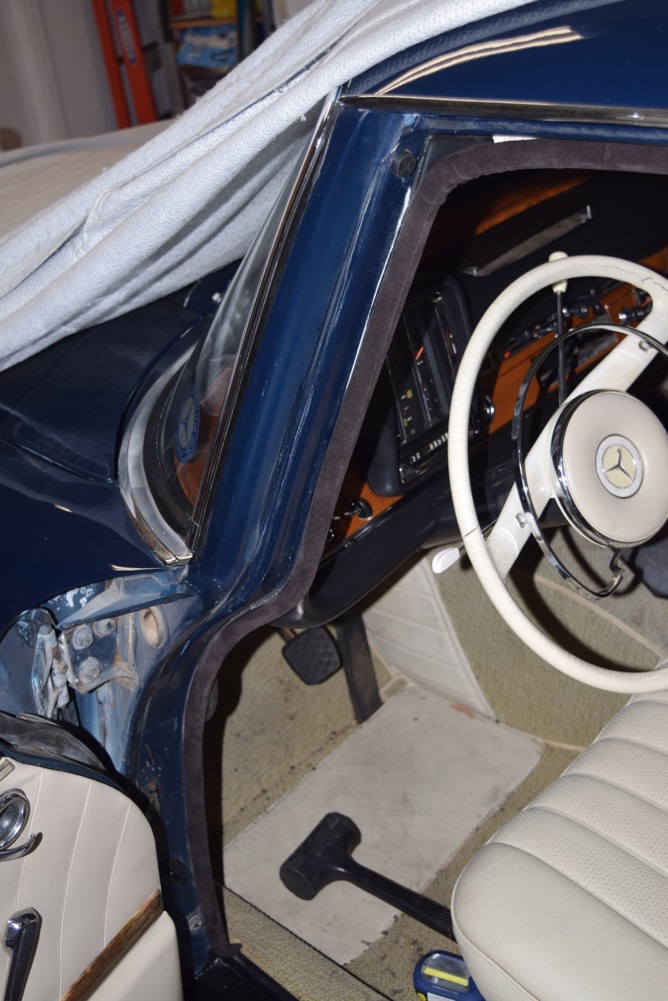
Both places get a coating of cement and I retire to another task while the cement sets up. Maybe 20 minutes later I get everything lined up, press it together with some heavy pressure, and I’m done. Here’s the driver’s door piece.
With the weatherstripping done, it was time to turn to the windlace. I sat down with each piece and stretched the fabric as best as I could. Once that was done I inserted the clips and prepared it for installation. I started at one end and got everything lined up, then pressed it into place. I used a rubber mallet to set parts of it in place so it followed the contours properly and to give the clips a good “bite” on the pinch weld. Here’s the driver’s door opening.
I have to go back and trim up the edges of the headliner material if I can’t get the windlace to cover it completely. Otherwise, it fit well and only had a few wrinkles, which I’ll chase down later. Here’s the left rear door opening.
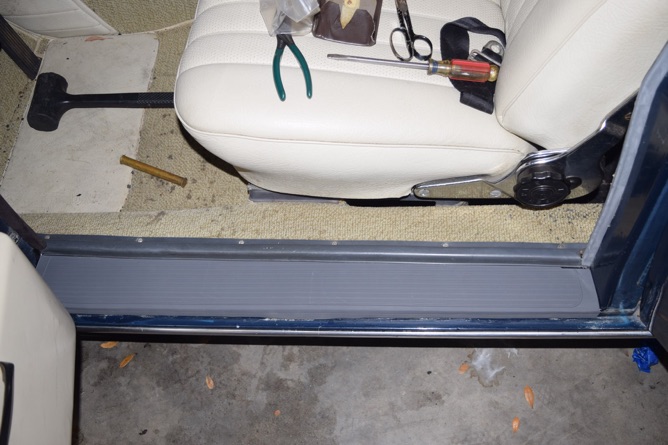
And the left rear sill mat.
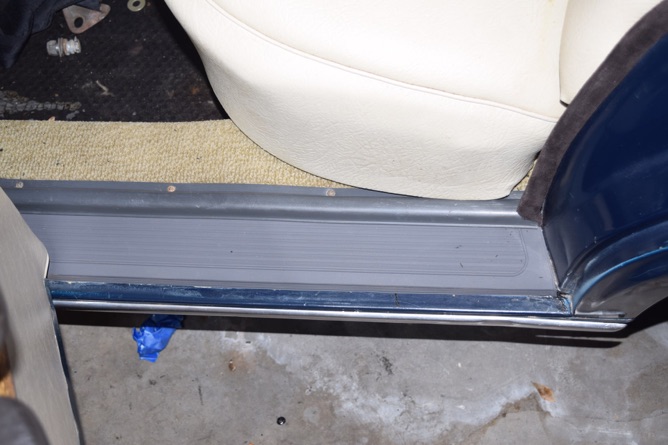
And the driver's door sill mat.
Left side “B” pillar cover installed.
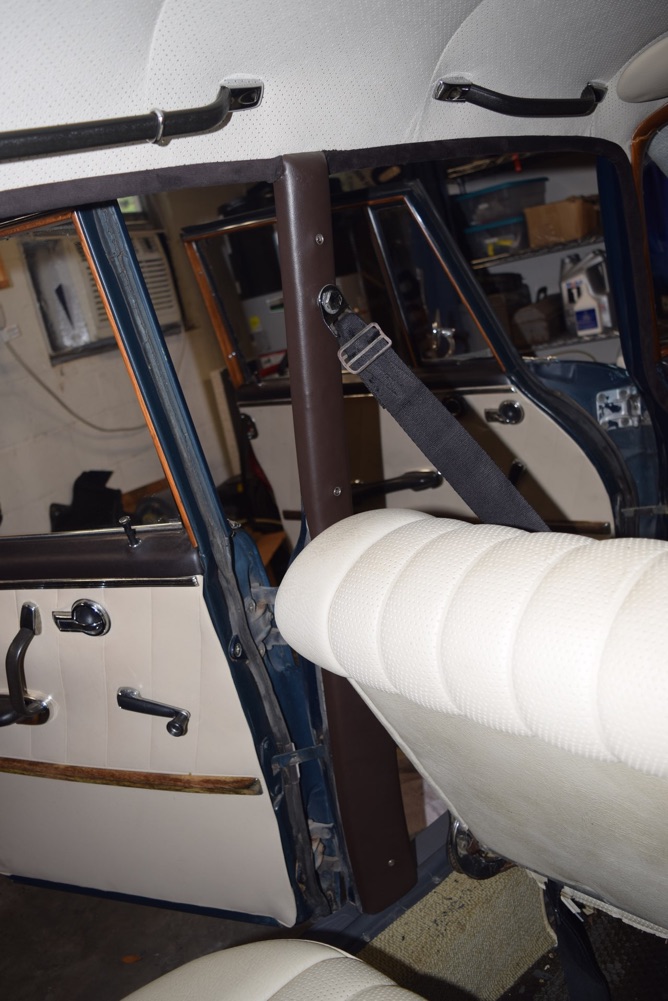
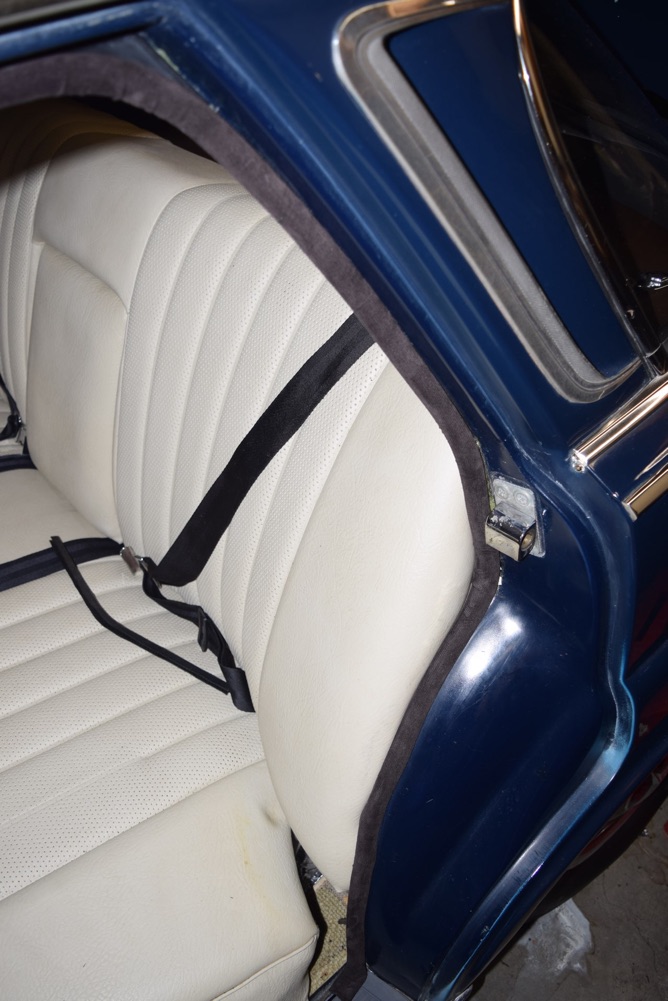
Right rear sill mat and new weatherstripping.
And with that I called it a (couple of) days.
Tuesday, March 26, 2019