I Got the Shaft

I Got the Shaft
Next major job - replace the center bearing, bearing carrier and whatever else needs it on the driveshaft. While I have the driveshaft out I want to replace the pinion seal on the differential, as it’s leaking badly, as well as a number of rubber bits on the rear axle, too.
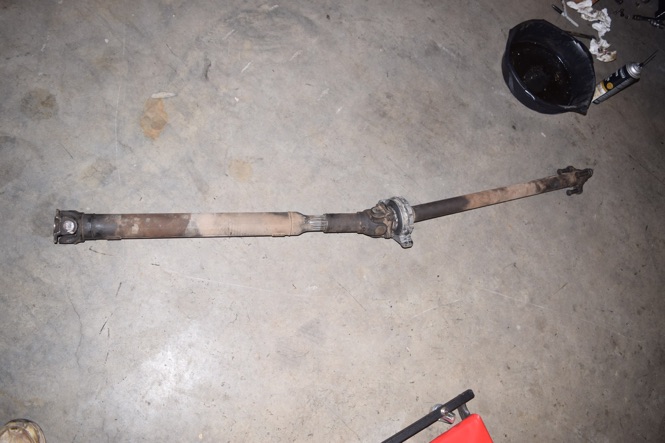
So I got the car up in the air and got the driveshaft out. I probably had 10 pounds of crud on my chest from the undercarriage as I worked the driveshaft out of the chassis. Out it came, ready to be refreshed.
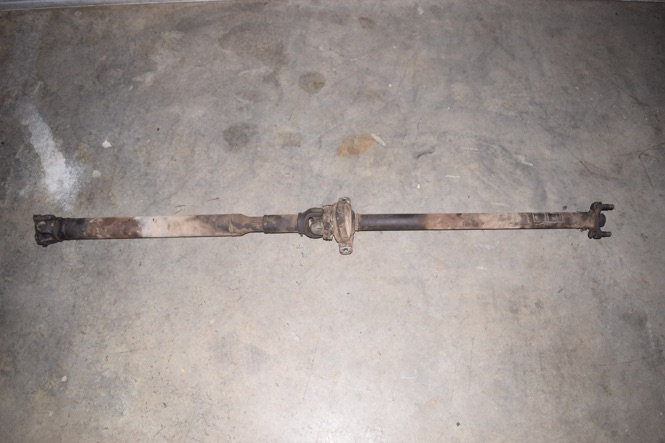
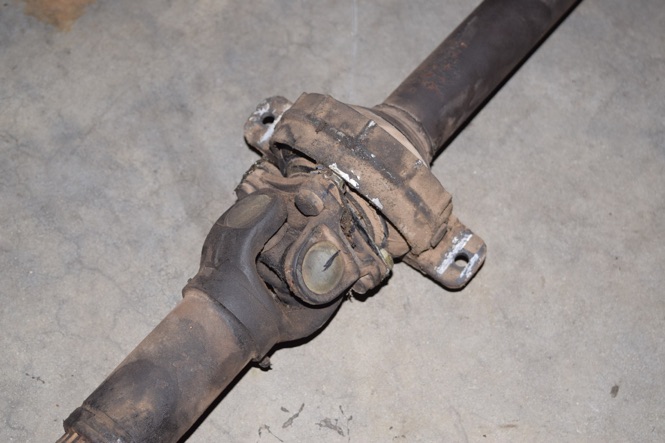
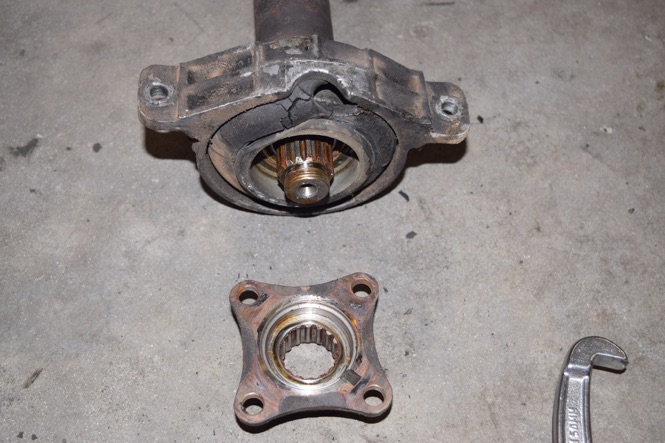
Dirty and dusty, of course, but intact. First order of business is to separate the two halves so I can get at the center bearing. The bearing carrier is pretty much toast, with the rubber “donut” that holds the bearing assembly in suspension dried out and deteriorating. Note the marks on the universal joint and flange. Keeping the driveshaft parts properly aligned is critical!
With the retainers bent back, the nuts holding the flange bolts can be removed and the flanges separated.
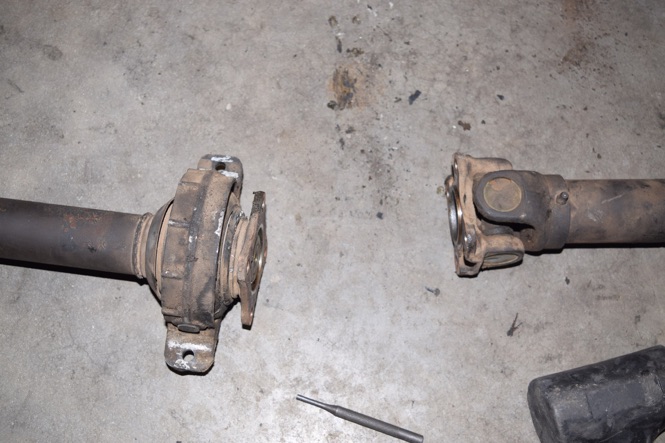
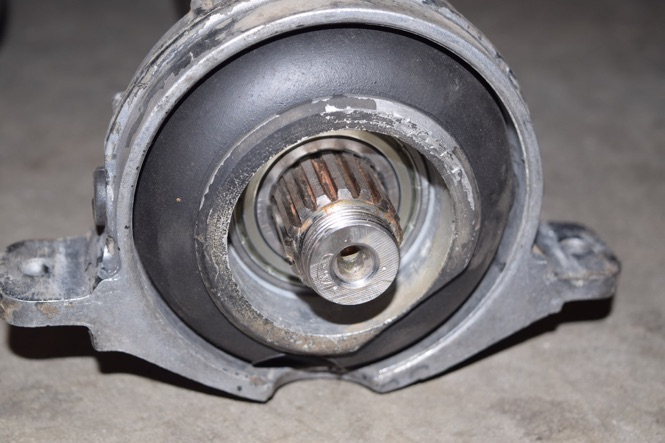
There is a slotted or notched nut inside the flange of the driveshaft half that has the center bearing. A metal ring around it is bent into the slots to keep it from turning once the driveshaft half is assembled. I’ll bend the ring out of the slots with a pin punch so the slotted nut can be removed.
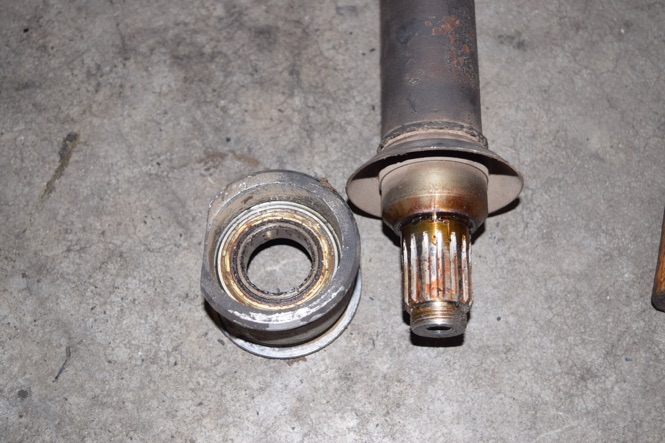
Once the nut is removed a puller can be used to remove the flange from the driveshaft.
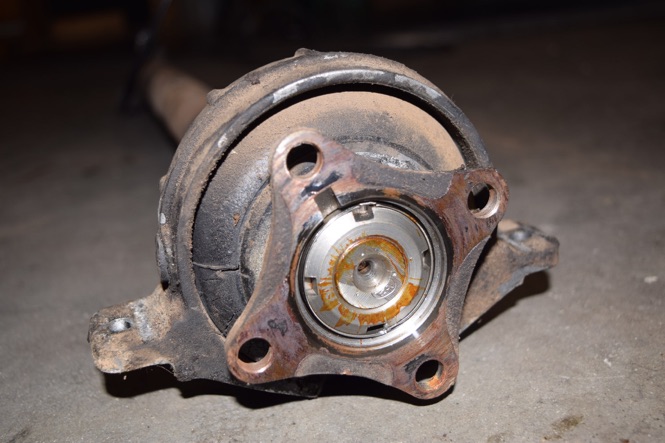
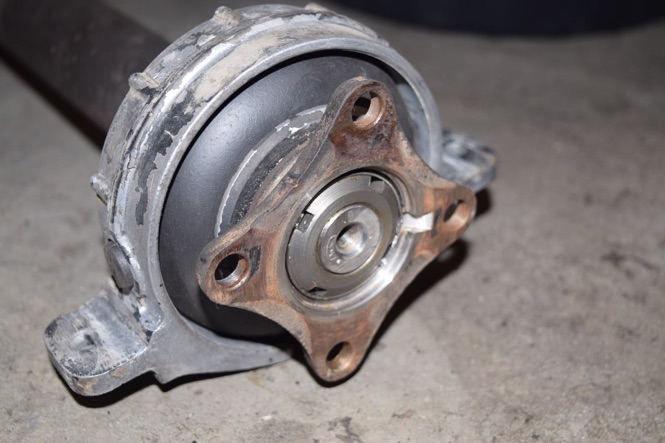
Inside of the collar is a retaining ring that keeps the center bearing in place in the collar. Once removed, the bearing and collar can be removed from the driveshaft again using the puller. Note that the rubber support that goes around the bearing collar has been removed.
And now using a dead blow hammer with a soft face and a large socket, the bearing gets driven out of the collar.
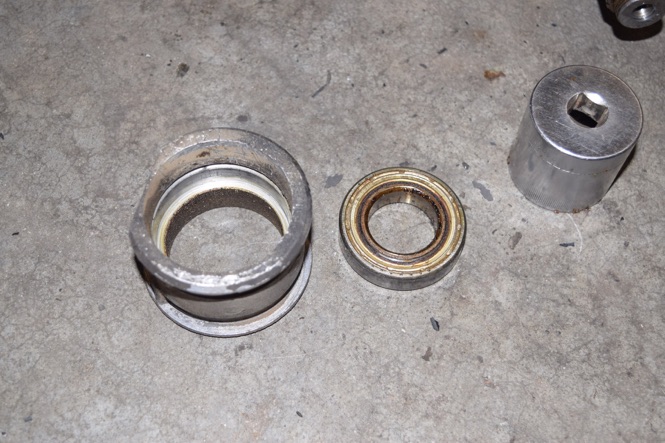
Using the old bearing as a driver, the new bearing gets tapped into the collar until it bottoms out in the bore, then the retaining ring is reinstalled.
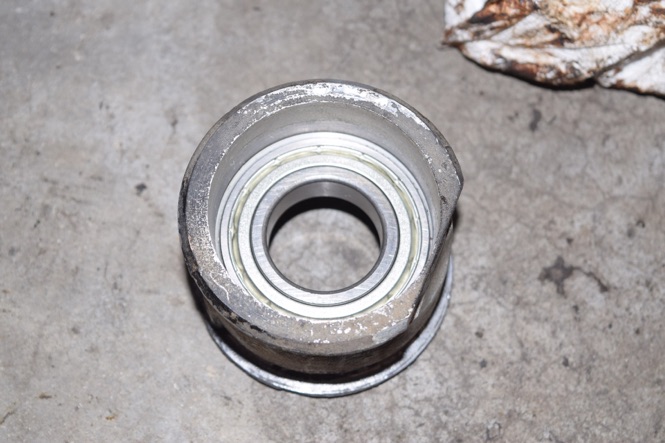
Not shown in a picture, the new support ring/donut gets placed over the collar and then into the center bearing support. The bearing and collar get gently driven onto the driveshaft until e bearing bottoms out on the shaft. The completed assembly looks like this.
Almost done - the flange needs to be reinstalled and the retaining nut tightened down and anchored.
Done! And now with the flanges matched up and the bolts installed, the retainers are peened over and the driveshaft is just about ready for installation.
Now I have to find a slotted wrench to remove the slotted nut on the pinion so I can replace the seal....

Friday, April 26, 2019

