Proper Compensation

Proper Compensation
Had a week off, so to speak, as I was facilitating at a national training event for my industry. Did a lot of reading and studying while I was in my hotel room, so it wasn’t a total lack of car time. Snagged some great technical literature off eBay last week as well, so even more reading after I returned home. But - there’s still lots to do, so with a day off on Monday I decided to take on a task.
I have a new compensating spring and pads for the rear suspension, so I figured this would be a good low impact job for the day. I started off making a trip to my FLAPS (friendly local automotive parts store) to borrow one of their suspension spring compressors. Got home, laid everything out and got under the car.
Bummer. The spring compressor isn’t going to work as the hooks on it are too thick to get between the turns of this spring, as it’s a bit smaller that a typical strut or suspension spring. OK, now to plan B....
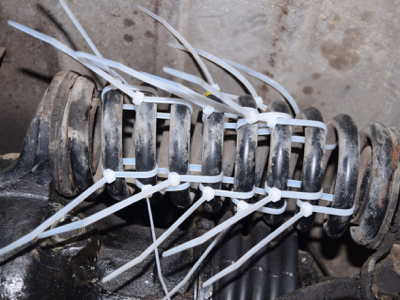
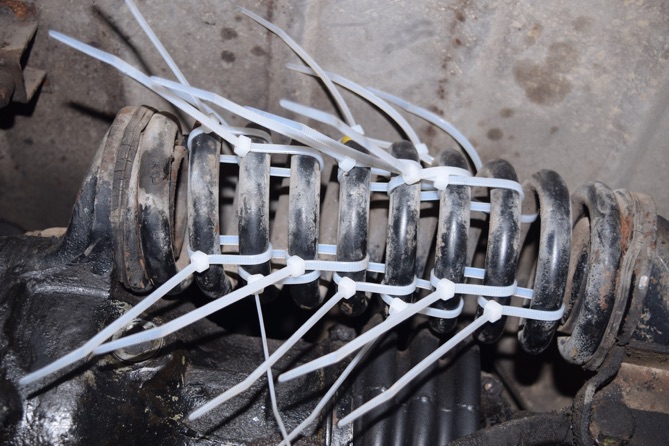
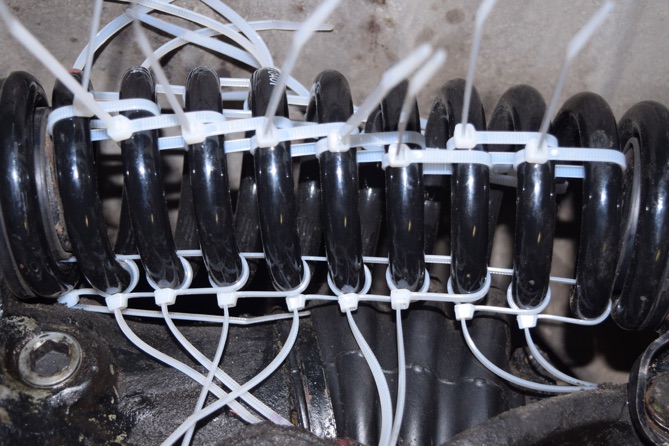
I had the car on the ground with the suspension fully loaded. Using nylon tie wraps, I tie-wrapped every spring coil at least twice in the compressed state. After doing this, I raised the car to unload the suspension and voila! The spring was sufficiently compressed.
I then used a pipe clamp to hold the bracket in place, and removed one bolt, effectively making the remaining bolt a pivot. Backing the pipe clamp out allowed the remaining spring compression to release, and I was able to drop the old spring out and remove the right side bracket and old spring pads.
But - how am I going to compress the new spring? Like this:
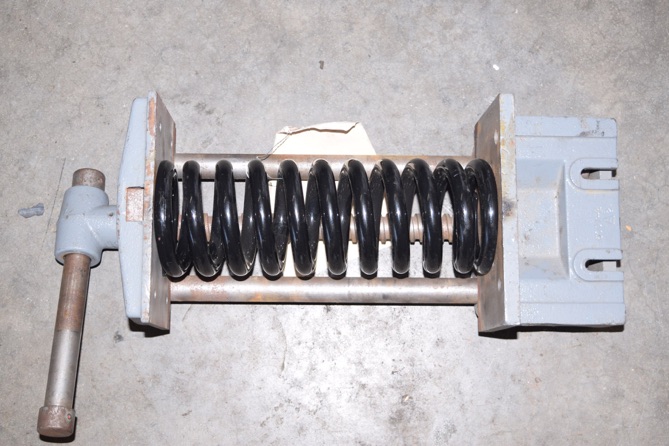
Yes, I retasked a woodworking vise I have to compress the new spring. Once compressed, I was able to secure it much like the old spring, using lots and lots of tie wraps.
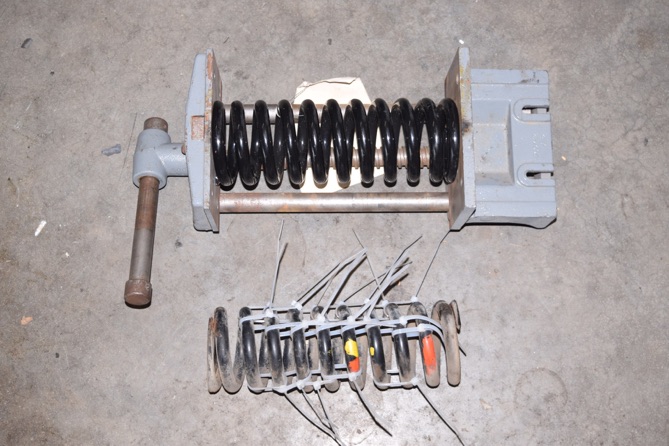
From this point, I got the new spring pads ready and in position on both brackets.
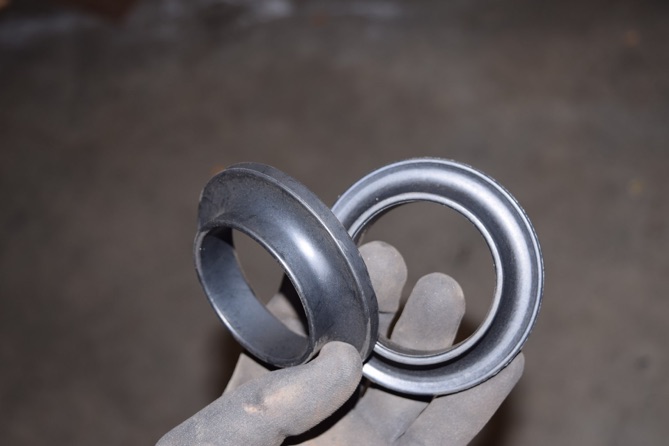
Only one size is still available, so I had no choice as far as thickness. The old pads were thinner, but it’s hard to judge whether that was due to 50+ years of being compressed or if it was their original thickness.
Next, I got the new spring up and installed on the pads and started one bolt on the right side bracket.
Using a pipe clamp, I used the bolt to pivot the right side bracket into place, compressing the spring the remaining amount and lining up the other bolt in the bracket. Tightened the bolts and released the pipe clamp. Then it was time to lower the car onto the suspension, clip all of the tie wraps off of the spring and call it completed.

So now my compensating spring has been replaced. I’m looking forward to taking the car for a drive and seeing how it handles. The rear spring pads need replacement as well, but I’m waiting for Mercedes to have them available in a month or two. Swing arm bushings will get done at the same time.
Monday, April 8, 2019