It’s In The Cards

It’s In The Cards
With the rear axle work behind me and a busy Mother’s Day weekend approaching, I didn’t start any major work on the car.
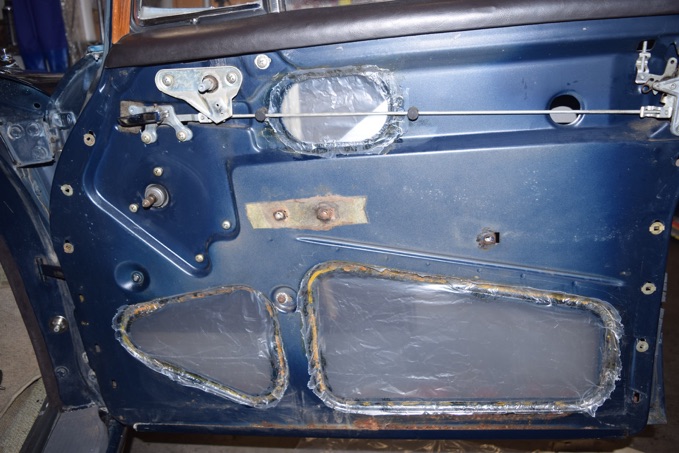
I removed the door card from the passenger side door and restored the moisture barrier that’s clearly long gone in these areas. Here’s the door with the door card removed before any work was done:
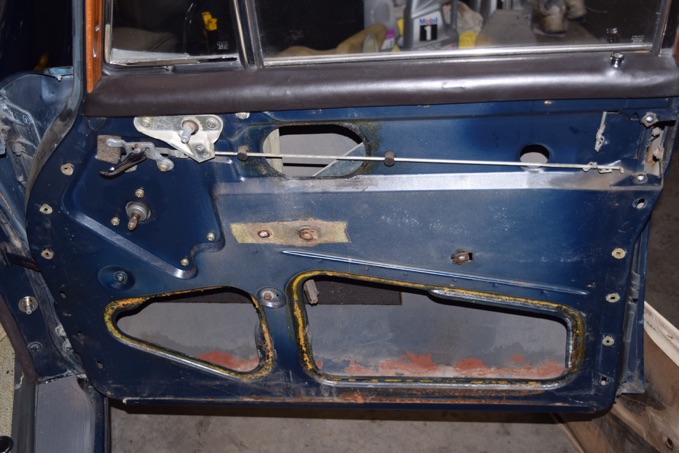
You can see the openings in the door body where moisture barrier used to be, no trace of it now. After giving the inside of the door cavity a good vacuuming and making sure the drains were clear, I started gluing new moisture barrier material in place:
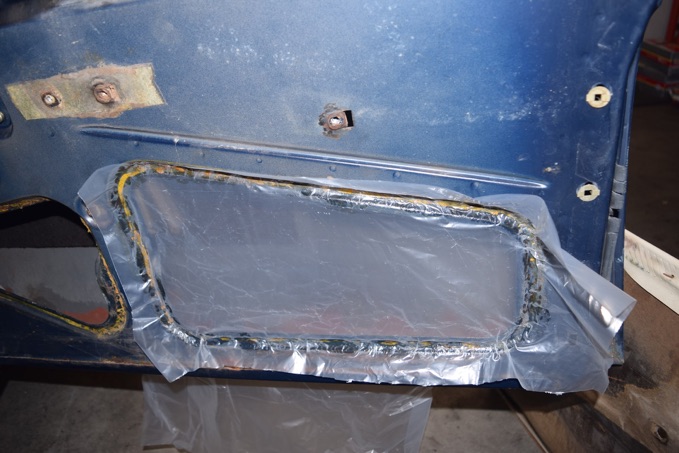
Using nothing more than 4 mil plastic sheet cut to size and rubber cement, I glued new material in the openings. Once the glue has dried I’ll cut the material down so it’s closer to the size of the opening.
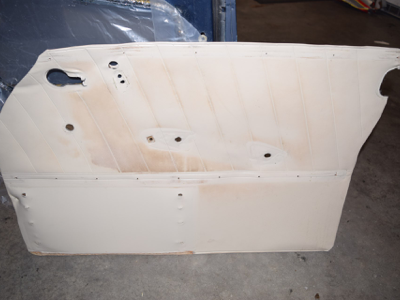
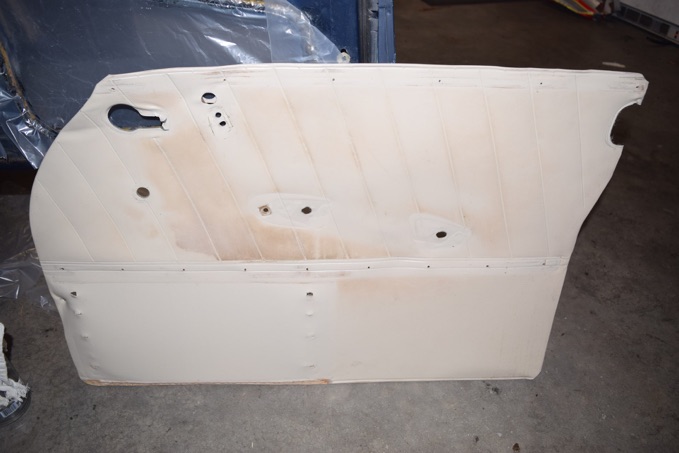
Here’s the door card removed from the door. As mentioned in the past, there’s a strange brownish discoloration on a portion of it that nothing I’ve used to date will make a dent in. Otherwise, it’s intact and the material is in good shape. You might notice I’ve removed the map pocket in preparation for removing the material from the backing.
I proceeded to peel the upholstery material off of the backing material. It came off easily, but was clearly glued or attached to it in some manner. There is padding of some sort on the back of the upholstery material that gives it some bulk and softens it.
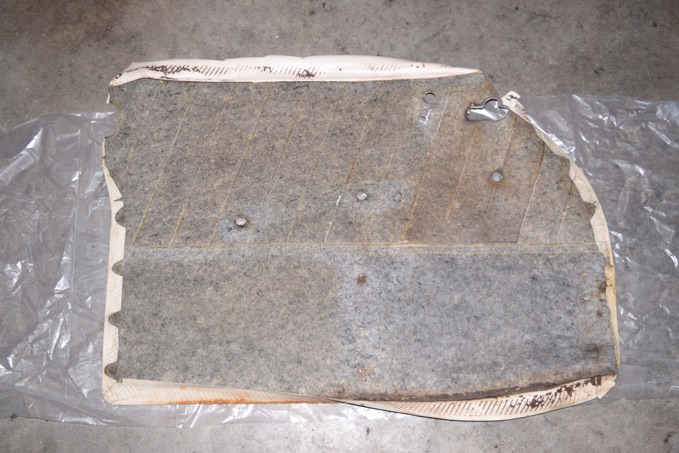
There are plastic “welds” on the corners where the material is folded over. I didn’t attempt to separate these as they are clearly fixed quite well. They define the corners of the door cards, so it’s a good idea to leave them alone so they can help to guide the crafting of the replacement cards.
I set the door card and upholstery aside for now and turned back to finishing the vapor barriers. Here’s a picture of the completed door with new vapor barrier material in place:
The door surfaces have been cleaned and “orphan” clips removed that you see in the holes. These will be reused with the new door card.
Using 3/32 Masonite I used the old door card as a template and started to cut out a copy. I’ll test fit and trim this over the next few days before I’m satisfied that it’s a proper fit. I’ve got a rear trailing arm bushing kit that came on Friday that I’ll probably use to replace bushings next weekend....
Friday, May 10, 2019