Rear Complete!

Rear Complete!
Well, almost.
Today I completed the replacement of nearly all of the rubber bits and other items on the rear axle. This was probably the biggest and most unpleasant job I had to do on the car. It’s a lot of brute force sort of work as well as messy and nearly all done on your back under the car. Ugh.
In a nutshell, I needed to:
Replace the pinion shaft seal
Replace the support arm bushing/sleeve
Replace the centering rod bushings
Along with this I coordinated the replacement of the drive shaft center bearing and bearing carrier, since the drive shaft had to come out to perform the repairs on the rear axle.
Most, if not all, of these parts were the original parts installed on the car, hence the need for replacement. Rubber bits tend to shrink and harden as they age, and when they’re over 50 years old, having been subjected to all sorts of conditions, well, they’re pretty well shot (if they’re still intact.) As you might expect, this has a major impact on the way the car drives and handles, and can even affect the car enough to make it unstable under certain conditions.
So on to the repairs....
The pinion shaft seal was the biggest issue, as the original was leaking badly, allowing the gear oil to leak out of the differential. The problem with replacing this seal is that it’s in a cover that’s part of other components that support the differential, meaning if one comes out, so do the others.
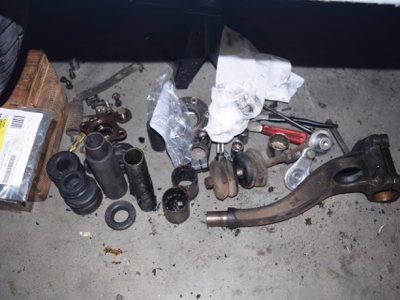
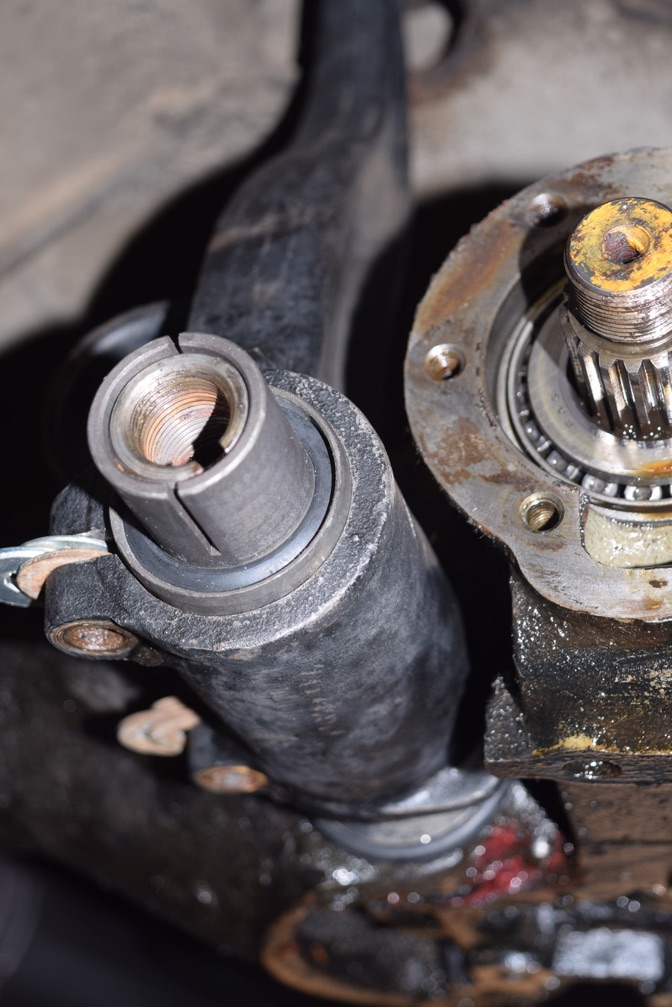
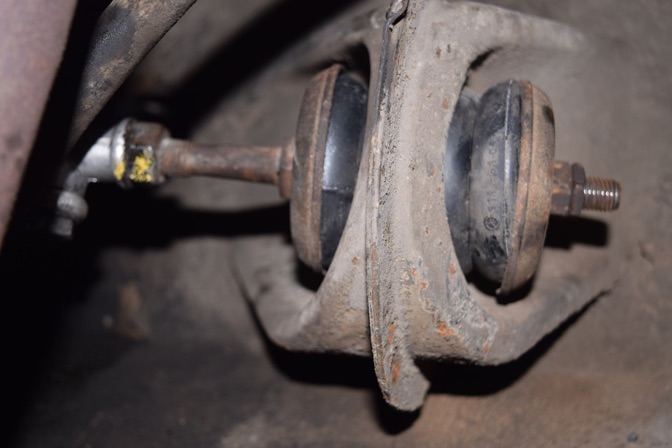
But first, the pinion flange, the part that the drive shaft attaches to, has to come out. This is especially tricky in this car for a number of reasons. One, you have to have a special “pin wrench” to remove the nut that holds the pinion flange in place, and two, the installation of the pinion flange nut is critical in determining the clearance of the pinion bearing in the differential. Get this part wrong and you’re going to have some serious and expensive repairs to deal with. Here’s what things look like:

So that big nut with the yellow paint in the middle of it has to come off, after which the pinion flange, the part with the holes in it, will come off. That will expose the pinion cover which has the leaking seal in it. See that big nut to the left? That’s the pivot shaft for the rear axle. The rear axle on these cars pivots so the wheels can move up and down somewhat independently. That big bolt has to come off too, once the clamping bolt just to the left of it is removed. You might also notice that it has a metal tab bent over on one of the “flats” of the bolt head. That’s done to prevent the bolt from turning loose during normal operation.
So out comes my homemade “pin wrench”, a $4.00 impact socket from Harbor Freight that I used a angle grinder on to make the pins. Crude, but effective. In order to maintain the proper clearance on the pinion, I carefully counted the number of turns it took to remove the pinion nut so I could put it back in place at exactly the same position to maintain the clearance. If you look around the 11:00 position on the nut you’ll see a small dimple with a matching dimple on the flange. Those are match marks I put in place before disassembly so I could get everything back in the original position.
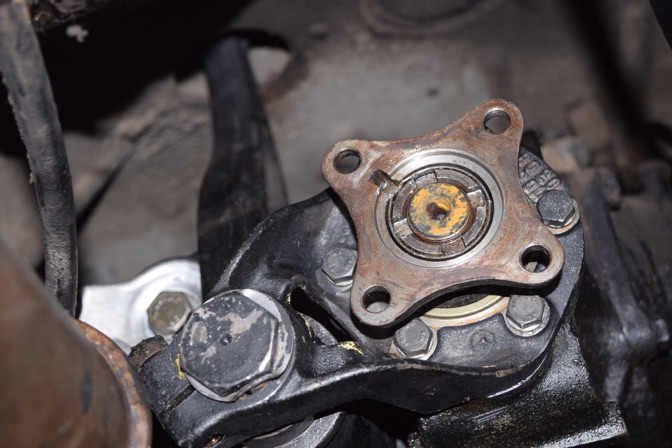
Pinion flange nut removed, pinion flange pulled out, and pivot bolt removed. Six bolts out of the pinion cover and we’re looking at the pinion cover off the differential.
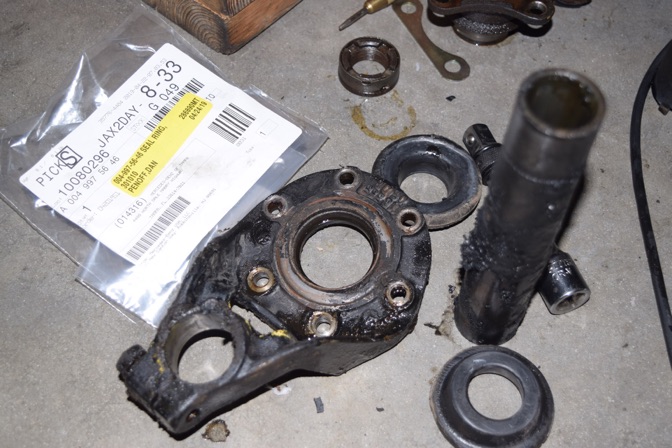
The differential looks something like this now:
This is an “after” picture I used as I didn’t have one of the “before”. You can now see the pivot rod where that big bolt went, and the support arm that is located on the pivot rod and is anchored to a mount that is forward of the trunk where you see the support arm going up into the hole is the trunk floor. More about that later.
More importantly, the support arm has a metal sleeve that goes inside of it. There’s another metal sleeve that goes over the pivot rod. In between those two metal sleeves is rubber. This allows the support arm to support the pivot rod and also have some dampening effect so that vibrations or shocks from the wheels and rear axle aren’t transmitted to the body. As expected, the rubber in the original sleeve is long gone, having deteriorated over the years from age, wear and the elements. Here’s what the new sleeve looks like with part of the old one next to it:
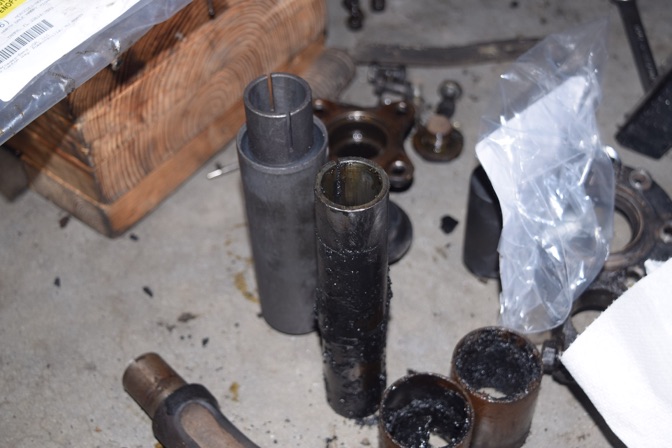
The original sleeve had two pieces on the outside. The replacement has one continuous sleeve on the outside. You can see the rubber inside the new sleeve. Look at the inside of the original “half sleeve” next to it. That black goo inside is the remains of the original rubber, which is also on the outside of the inner sleeve, too.
If you look in the previous picture at the pivot rod, you’ll see what appears to be a large metal ring in the background above and to the left of it. This is a part of the support arm, and is the anchor point for what is known as the centering rod. This is a rod that is connected at one end to the body of the car, and the other end is connected to the ring you see on the support arm. This rod centers the rear axle and differential in relation to the body of the car. There are rubber bushings on one end of the rod and rubber bumpers or “doughnuts” on the other. Here is the rod with the new rubber parts for it:
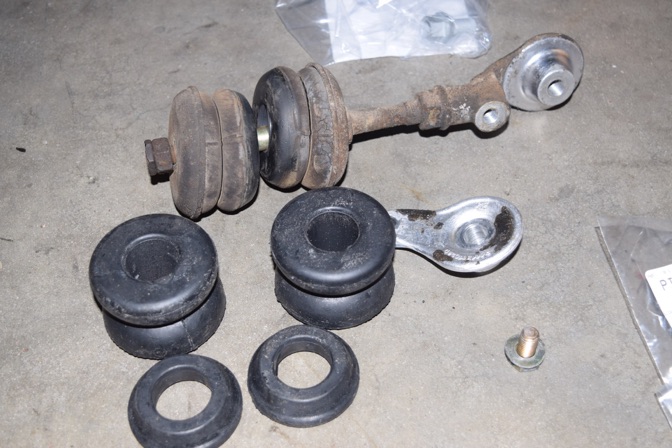
That silver part on the right is where it connects to the ring on the support arm. The two rubber rings in the foreground fit over each one of those silver “cones” which in turn are seated in the ring on the support arm. A bolt goes through the cones to hold it in place and anchor it to the support arm.
The two large “doughnuts” go on the bolt portion of the centering rod. In between the rubber doughnuts is a bracket that is anchored to the body of the car. That’s where the rod connected to the car. You can see the old doughnuts on the rod, which are dried out, quite hard and somewhat compressed from being in place from over 50 years.
So here is a picture with all of the parts more or less together:
What’s a bit amusing as well as very pleasing to me is that a number of people told me that to remove the support arm the whole rear axle had to be removed from the car, or lowered out of the car to a point where the support arm could clear the opening in the trunk floor and be rotated to one side to remove it.
After I got all of the old rubber parts off, including the remains of the metal and rubber sleeve from the support arm and pivot rod, I found that the support arm would slide over and off the pivot rod without any interference, meaning I could remove it from the car without a major disassembly of the rear axle. Excellent!
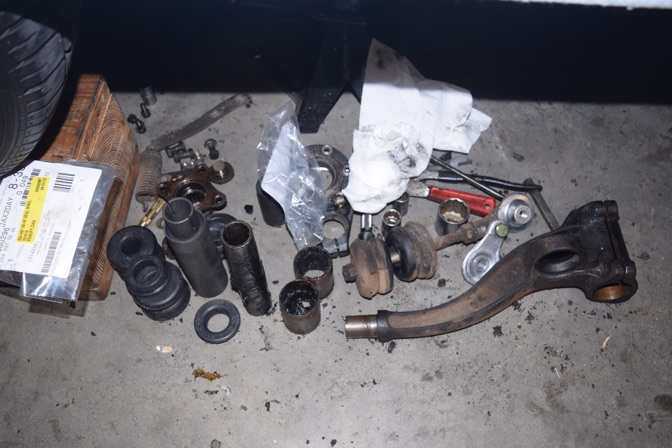
With all of the parts cleaned and the new rubber pieces ready for installation, I started reassembling everything.
First thing was to install the support arm. As there are clamping bolts on the part of the support arm that hold the sleeve that goes over the pivot rod, I left them out for installation after the sleeve was in place. In an effort to make sure there was enough clearance for the new sleeve I placed washers in the gaps where the clamp bolts went, wedging them in place to expand the opening.
After a test fit wit the sleeve to make sure it slid easily on to the pivot bolt and into the support arm, I placed the support arm over the pivot bolt and made sure the top of it was located in the bushing in the trunk floor. Next I took the sleeve and pressed it into the opening on the support arm and over the pivot rod.
Now you can see the new sleeve with the rubber insert. Notice my washer “wedges” to increase the clearance while I assemble everything. These will be knocked out once everything is confirmed to be in the proper place.
Next I need to install the centering rod. I have to get the inner doughnut in place, put the threaded end of the rod through the bracket on the body, then get the other end bolted up on the support arm. Here’s the end on the support arm:
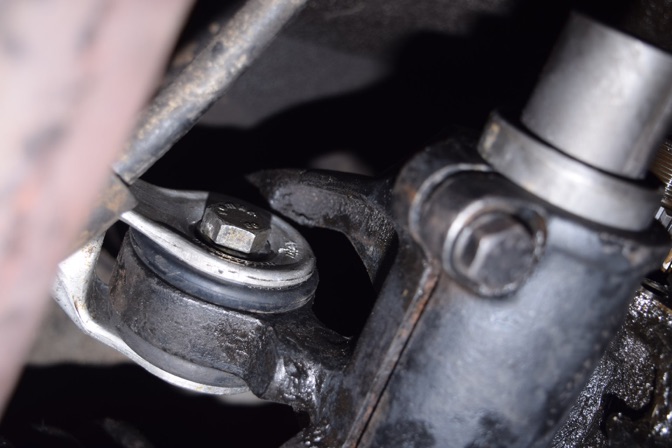
I had to jack the differential up a bit once this was done so I could get enough threads on the other end of the centering arm exposed to get a nut on them. Since the old doughnuts were somewhat compressed, when I installed the new ones the rod didn’t stick out of the outside doughnut enough to get the retaining nuts on it. Once in place it looks like this:
Now we’re making some serious progress!
Next comes the pinion cover withe the new seal. I pressed the old seal out with a piece of PVC tubing that was the correct size. The the cover got cleaned and was now ready for the new seal to be pressed in. Using a vise with very large flat jaws, I pressed the new seal into the cover using the same piece of PVC tubing. Once done, the cover was ready to put back on the differential. Before doing so, I applied a bead of Mercedes black sealant on the differential housing. After it had time to “skin”, I installed the cover. With the cover in place I could reinstall the pinion flange and the bolt in the end of the pivot rod. I counted the same number of turns when reinstalling the pinion nut, and lined up my match marks so it went exactly where it had been before it was removed. The retaining ring got peened in place, too.
With everything back in place it looked like this:
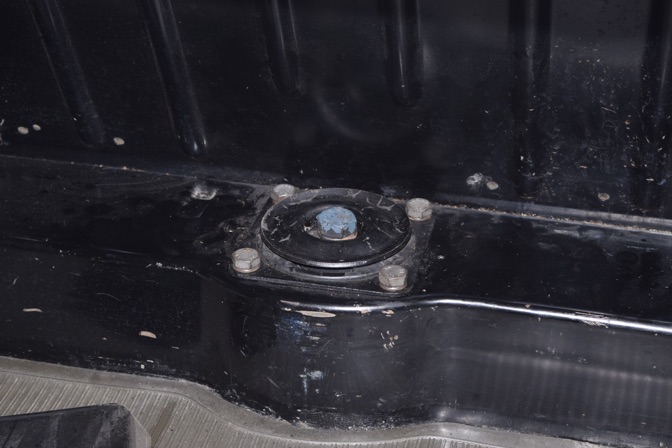
The last thing I had to do was to reinstall the bolts on the support arm upper mount in the trunk. Here’s the mount in the trunk:
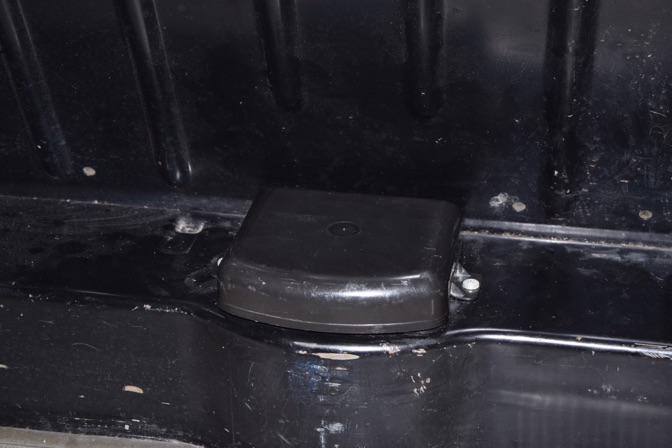
And then install the cover over the mount:
After all this was completed, I installed the drive shaft with the new center bearing and bearing carrier, and the car was ready to go. A short drive to settle everything, then the bearing carrier bolts were secured, and I’m done.
This was probably the most “major” job the car needed, and one I’’m glad I’ve got behind me. The last thing I need to do in this area is replace the trailing arm bushings and pins, which I’ll probably do next month. This major work takes a lot out of you, and I need a rest before I undertake another job like this.
I’m going to work on the door cards for now. Something relatively low impact that I can do indoors for the most part and out of the ever increasing temperatures. Summer has arrived in Florida....
Saturday, May 4, 2019