Up Against a (Fire)Wall

Up Against a Wall
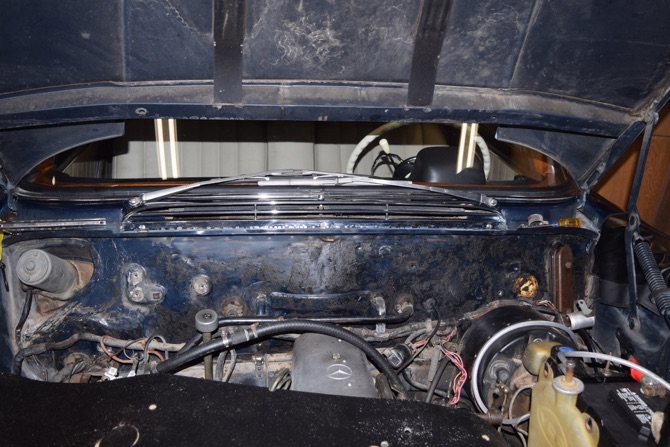
As things wind down on getting the car into shape, I needed to remove the old firewall material that was severely degraded and replace it with new material. Not a major job, but something that needed to be done to clean up the engine compartment and get things in order. You can see how the original material has broken down and is falling apart.

Looks pretty rough, eh?
So that means taking a putty knife and scraping it all off as best I can, like this.
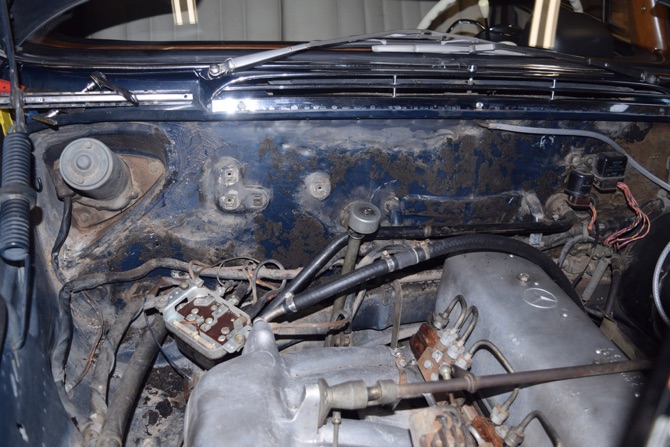
Because it was in such poor condition removing it wasn’t difficult. Most of it came off in large chunks, leaving a minimal amount of the original glue in place. Once removed, I soaked the area with 3M Adhesive Remover to soften up the old adhesive and scrape as much off as I could without damaging the paint surface.
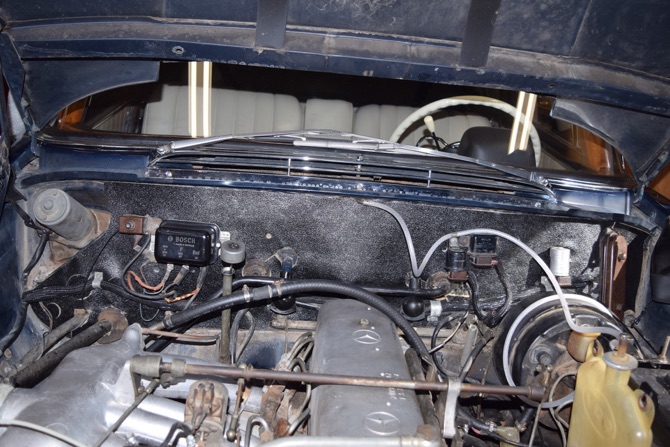
Once this was complete and the adhesive remover had flashed off, I dry fit the new pad and made the necessary cuts to accommodate some of the openings that weren’t in the pad. I then spread both the firewall and the back of the new material with Mercedes contact adhesive and let it flash off for a few minutes. After the adhesive had set up, I carefully positioned the new insulation pad and pressed it into place.
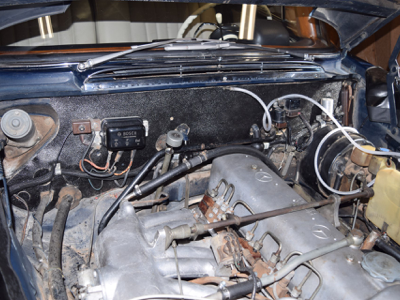
Once the pad was in place and secure, I began installing the items mounted to the firewall, mainly some electrical components like the generator voltage regulator and a few relays. I took this opportunity to also install new wiring harness loom to cover the wiring harness, as a bit of the original cloth loom cover had degraded due to age and the elements and was either gone or falling off.
I’ve got to deal with some failing insulation on the voltage regulator cables, but otherwise it turned out well, I think. With everything back in place, it looks far better than it did previously (I think.) And yes, I need to shorted up the windshield washer hose. That’s on my list.
Sunday, June 30, 2019