I have promised my Mercedes buddies for some years that I would document the exterior detailing process I have used on all my cars so they could do the same to theirs. I have finally assembled pictures from one of my W123 chassis detailing sessions - after many years, here it is . . .
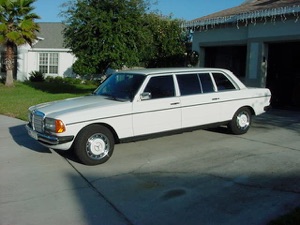
1984 123 Chassis
250 Long Wheelbase Sedan
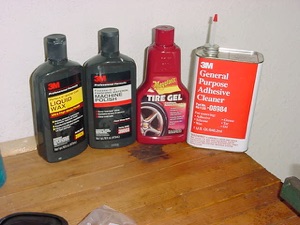
Step 1: Assemble the tools and materials. I use 3M products for the most part, after trying many different brands over the years. 3M products are very consistent and high quality, and best of all, they do what they say they will, as long as you follow directions. In the picture you see the following:
a.) General Purpose Adhesive Cleaner - The absolute BEST product for removing overspray, stickers, glues, any sort of nasty stuff that might be on the finish. It is highly flammable, so do heed the warnings on the can.
b.) 3M Machine Polish - If you have a non-clear coat finish that is chalky or faded, machine polishing will do a lot to recover an oxidized finish.
c.) 3M “Perfect It” Show Car Wax - This stuff is the BEST! You can get pretty amazing results with this using a machine buffer and in doing so, cover a large area.
d.) Tire Gel - I use Meguire’s, but there are others out there that probably work as well. If 3M has a product like this (and they probably do) I haven’t had a chance to try it. Works well on black rubber trim, too, like bumper moldings and caps.
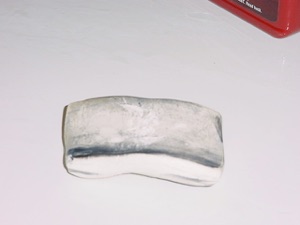
e.) Clay bar & lube - A clay bar is the absolute MUST if you want you finish to be completely pristine. It’s not something you must do every time you detail, but done once a year will remove a lot of grime from the finish that you won’t believe is there.